Easy No-Bake Rice Krispie Pumpkins For Fall
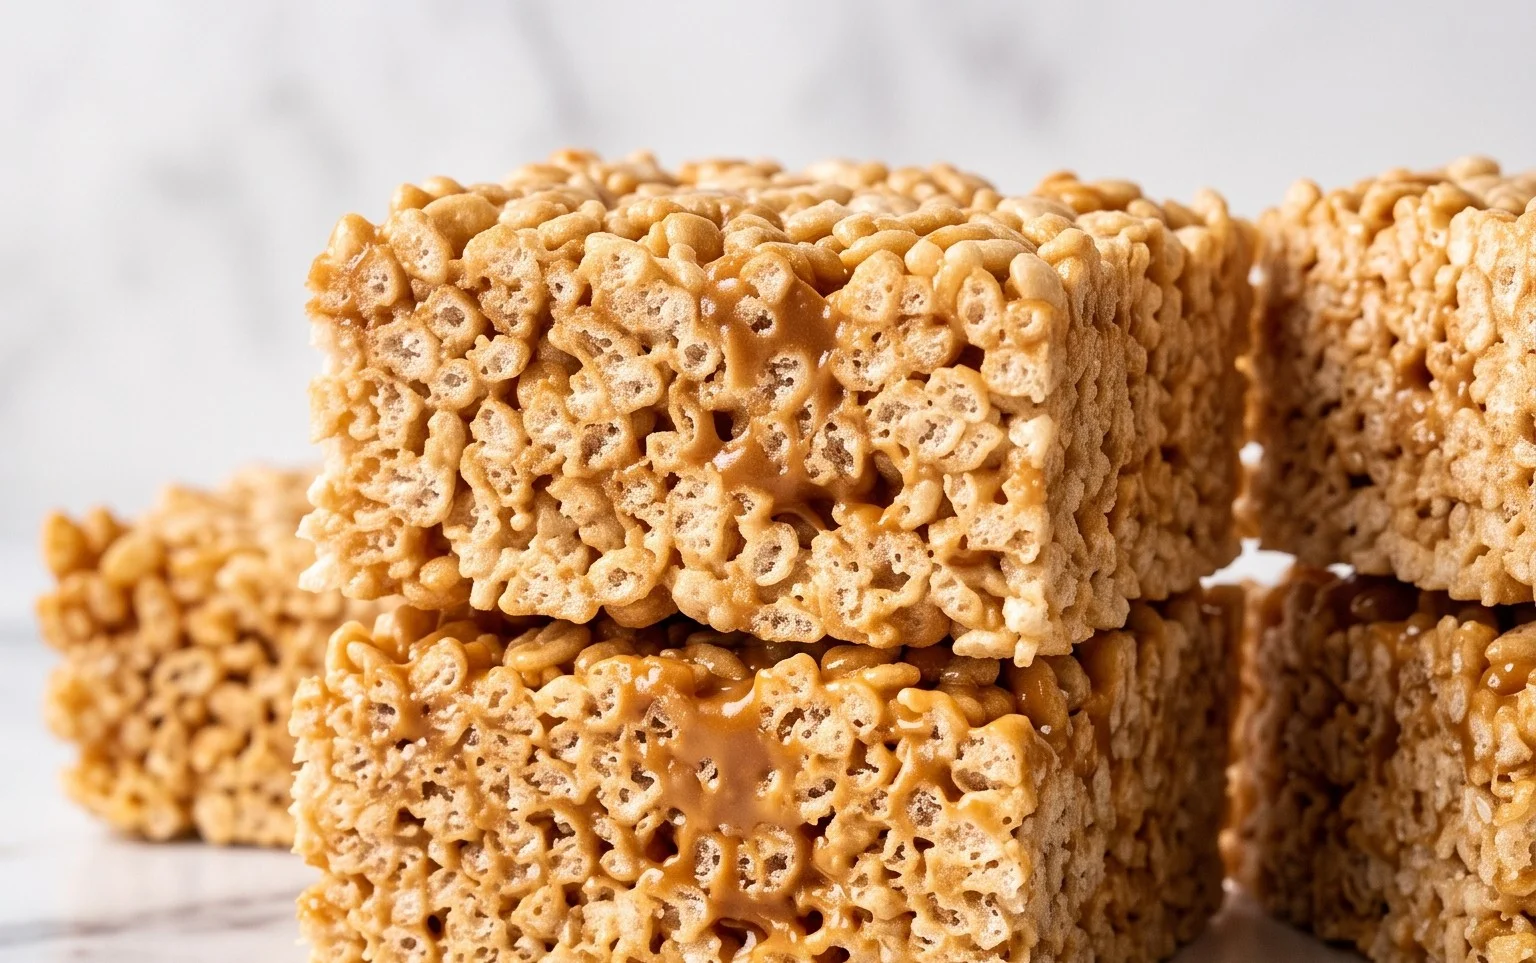
Rice Krispie Treat Pumpkins are an absolute delight, and I can’t wait to share how to make these adorable and delicious Halloween classics! There’s something undeniably magical about transforming simple, gooey Rice Krispie Treats into festive fall characters. They’re not just a dessert; they’re a centerpiece, a conversation starter, and a guaranteed crowd-pleaser for any Halloween gathering. What’s not to love? They capture that perfect childhood nostalgia with their sweet, chewy texture and are surprisingly easy to whip up, making them ideal for baking with kids or for a last-minute festive touch. These aren’t your average squares; these Rice Krispie Treat Pumpkins are a playful and edible tribute to the spirit of autumn, bringing smiles to faces young and old with their charming orange hue and a hint of spooky fun.
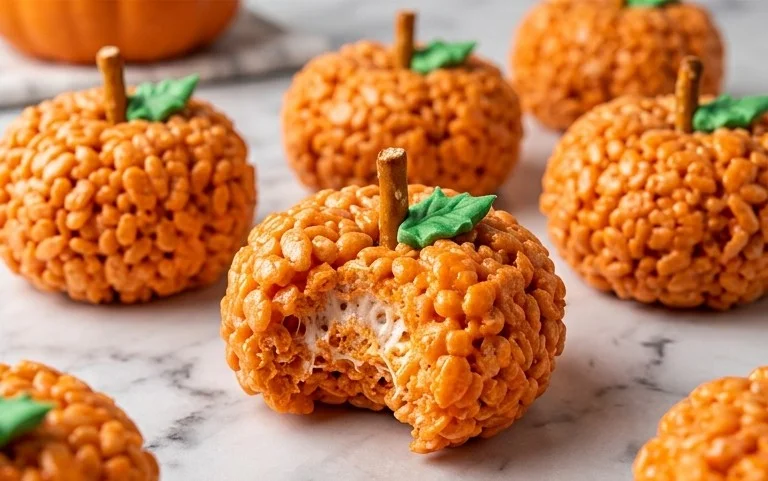
Spooky and Sweet: How to Make Rice Krispie Treat Pumpkins!
Get ready to add a touch of festive fun to your autumn celebrations with these adorable and delicious Rice Krispie Treat Pumpkins! These no-bake wonders are perfect for Halloween parties, classroom treats, or just a fun afternoon activity with the kids. They’re incredibly easy to make, and the result is a batch of perfectly portioned, pumpkin-shaped treats that are sure to disappear faster than a ghost at dawn. We’ll be using some classic ingredients to achieve that iconic orange hue and a sweet, chewy texture, with a few special additions to make them truly pumpkin-tastic.
Ingredients:
- 1/4 cup Butter
- 1 bag large marshmallows (approximately 40 marshmallows)
- 6 cups Rice Krispies
- Red & Yellow Liquid Food Coloring
- Mini Rolos
- Green M&M’s
- 1/4 cup cooking oil or melted butter in a small bowl (to keep it from sticking to your hands)
Making the Pumpkin Base
The foundation of our delightful pumpkins is, of course, the classic Rice Krispie Treat mixture. It’s simple, it’s effective, and it’s a canvas for our autumnal transformation. You’ll want to work relatively quickly once the marshmallows are melted, as they tend to set up fast. This is where having all your ingredients prepped and ready will make the process smoother.
Step 1: Melt the Marshmallows
Begin by adding the 1/4 cup of butter to a large pot or Dutch oven. Place the pot over medium-low heat. Allow the butter to melt completely, making sure to swirl the pot occasionally to prevent it from scorching. Once the butter is fully melted and looks nice and glossy, add the entire bag of large marshmallows to the pot. Continue to stir the marshmallows gently and consistently as they begin to melt. You’ll see them gradually transform from their solid, puffy state into a gooey, sticky mass. This process usually takes about 5-10 minutes. Be patient and keep stirring; you don’t want any burnt bits at the bottom of your pot, as this can affect the flavor of your treats.
Step 2: Add the Rice Krispies and Color
Once the marshmallows are completely melted and smooth, remove the pot from the heat. Now it’s time to add the 6 cups of Rice Krispies. Gently stir them into the melted marshmallow mixture until they are evenly coated. This is where the magic starts to happen, transforming the gooey mass into a sticky, textured cereal mixture. While the mixture is still warm and pliable, it’s the perfect time to add our coloring. Add a few drops of yellow liquid food coloring and then a few drops of red liquid food coloring. Stir the mixture thoroughly to distribute the color evenly. You’re aiming for a vibrant, pumpkin-orange hue. It’s better to start with a smaller amount of food coloring and add more as needed. You can always add more, but you can’t take it away! Stir until you achieve your desired shade of orange. The color will also intensify slightly as the treats cool.
Step 3: Shape the Pumpkins
This is where we get our hands sticky and our creativity flowing! Lightly grease your hands with the 1/4 cup of cooking oil or melted butter you’ve prepared in the small bowl. This step is crucial to prevent the sticky Rice Krispie mixture from adhering to your skin, making the shaping process much easier and less messy. Take about a handful of the Rice Krispie mixture – the size of a small orange or a large clementine – and gently roll it into a ball. Then, using your greased fingers, gently flatten the bottom of the ball slightly so it can stand on its own. You want to form a rounded, slightly squat shape that resembles a pumpkin. Don’t worry if they aren’t perfectly uniform; real pumpkins have unique shapes too! Repeat this process with the remaining Rice Krispie mixture, re-greasing your hands as needed. It’s helpful to have a clean plate or parchment-lined baking sheet ready to place your shaped pumpkins on as you create them.
Adding the Pumpkin Details
Now that we have our pumpkin shapes, it’s time to give them those signature pumpkin characteristics! This is the fun part where they really come to life.
Step 4: Create the Stems and Vines
To create the pumpkin stems, take a mini Rolo and gently press one end into the top center of each Rice Krispie treat pumpkin. The sticky nature of the treats should help it adhere. If it’s struggling to stick, a tiny bit more melted butter on the Rolo can help. For a bit of vine-like flair, you can slightly bend the Rolo so it looks like a curling stem. If you want an even more natural look, you can even use a bit of the Rice Krispie mixture to mold around the Rolo for a more substantial stem. The Rolo adds a subtle caramel flavor which is a lovely surprise!
Step 5: Add the Pumpkin Stripes (Optional but Recommended!)
To give your pumpkins a more authentic carved look, you can create subtle stripes. Using a knife that you’ve lightly greased with a little of your cooking oil or butter, gently score faint lines down the sides of each pumpkin. You don’t need to cut all the way through, just enough to create indentations that mimic the natural segments of a pumpkin. Be delicate with this step so you don’t end up squashing your pumpkin shapes. If you want to add a bit more detail, you can use a toothpick to make small, random indentations to simulate a more weathered look. Finally, for a playful touch, you can stick a green M&M onto the stem of each pumpkin to resemble a small leaf or budding vine.
Enjoy your homemade Rice Krispie Treat Pumpkins! They are best enjoyed at room temperature and will be a hit with guests of all ages. They store well in an airtight container at room temperature for a few days, though they are most delicious when fresh. Happy haunting and happy snacking!
Conclusion:
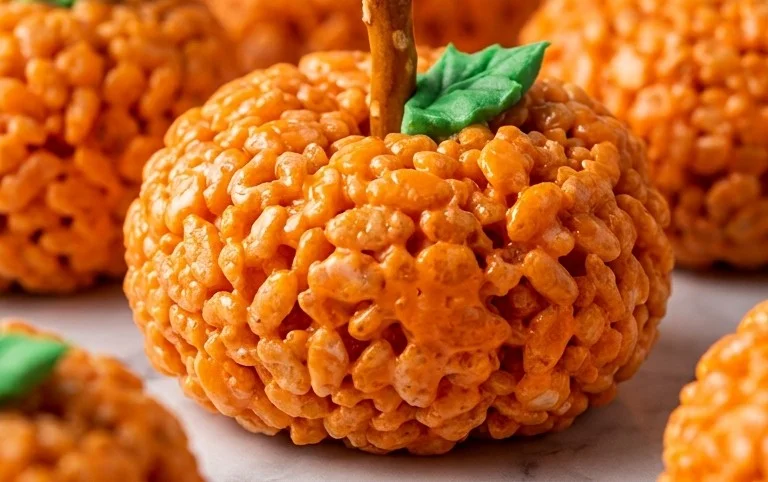
So there you have it! Creating these adorable Rice Krispie Treat Pumpkins is a wonderfully simple yet incredibly rewarding baking project. They’re a fantastic way to inject some festive fun into your autumn celebrations without any complicated steps or specialized ingredients. The classic, chewy texture of Rice Krispie treats combined with the cheerful pumpkin shape makes them a guaranteed hit with kids and adults alike. These are perfect for classroom parties, Halloween gatherings, or simply as a delightful afternoon treat. Imagine serving them alongside a steaming mug of apple cider or as part of your Halloween dessert spread – they’ll be the star of the show! Don’t hesitate to get creative with your decorations; a few extra green candies for a stem or some edible markers for spooky faces can add even more personality.
I truly encourage you to give these Rice Krispie Treat Pumpkins a try. They’re a no-bake marvel that brings so much joy and taste to the season. They’re so easy, you’ll find yourself making them again and again!
Frequently Asked Questions:
Q: Can I make these Rice Krispie Treat Pumpkins ahead of time?
A: Absolutely! You can prepare the Rice Krispie treat mixture and shape them a day or two in advance. Store them in an airtight container at room temperature. For best results, add the green candy stems just before serving to prevent them from becoming too soft.
Q: How can I make my Rice Krispie Treat Pumpkins look more realistic?
A: To enhance the pumpkin look, you can gently press indentations into the sides of the treats while they are still warm and pliable, creating those signature pumpkin grooves. For the stem, use a green gummy worm or a small piece of green candy. You can also use edible markers to draw on small details like a vine or even a Jack-o’-lantern face!
Q: What other variations can I try with this recipe?
A: The possibilities are endless! You could add a touch of orange food coloring to the marshmallow mixture before adding the cereal for a more vibrant pumpkin hue. For a different flavor, consider adding a teaspoon of pumpkin pie spice or a few drops of vanilla extract to the melted marshmallows.
Rice Krispie Treat Pumpkins
Adorable and easy-to-make Rice Krispie treats shaped like pumpkins, perfect for Halloween. These no-bake treats are a fun activity for kids and adults alike.
Ingredients
-
1/4 cup Butter
-
1 bag large marshmallows (approximately 40 marshmallows)
-
6 cups Rice Krispies
-
Red & Yellow Liquid Food Coloring
-
Mini Rolos
-
Green M&M’s
-
1/4 cup cooking oil or melted butter
Instructions
-
Step 1
Melt butter in a large pot over low heat. Add marshmallows and stir until completely melted and smooth. -
Step 2
Remove from heat. Add Rice Krispies cereal and stir until well coated. -
Step 3
Add a few drops of red and yellow food coloring and stir until the mixture is evenly orange. Mix in more coloring if needed to achieve a pumpkin color. -
Step 4
Lightly grease your hands with cooking oil or melted butter. Shape the mixture into small pumpkin shapes. -
Step 5
Press a Mini Rolo into the top of each pumpkin to create a stem. -
Step 6
Add a Green M&M to the Rolo stem for a vine detail, if desired. -
Step 7
Allow treats to cool and set completely before serving.
Important Information
Nutrition Facts (Per Serving)
It is important to consider this information as approximate and not to use it as definitive health advice.
Allergy Information
Please check ingredients for potential allergens and consult a health professional if in doubt.