Easy Homemade Cereal Bars Quick Delicious Snack
Cereal bars are an absolute revelation when it comes to effortless snacking and satisfying sweet cravings. Who doesn’t love a quick, no-bake treat that brings together the comforting crunch of your favorite cereal with a binding sweetness? These versatile delights have earned their place in lunchboxes, picnic baskets, and desk drawers for good reason: they’re incredibly easy to make, endlessly adaptable, and ridiculously delicious. Whether you’re a busy parent looking for a healthier alternative to store-bought cookies, a student needing a fuel-up between classes, or simply someone who appreciates the magic of transforming humble pantry staples into something truly special, these cereal bars are your answer. What truly makes them shine is their inherent simplicity; you can customize them with whatever mix-ins your heart desires, turning a basic recipe into your own personal masterpiece. Get ready to discover your new go-to snack!”
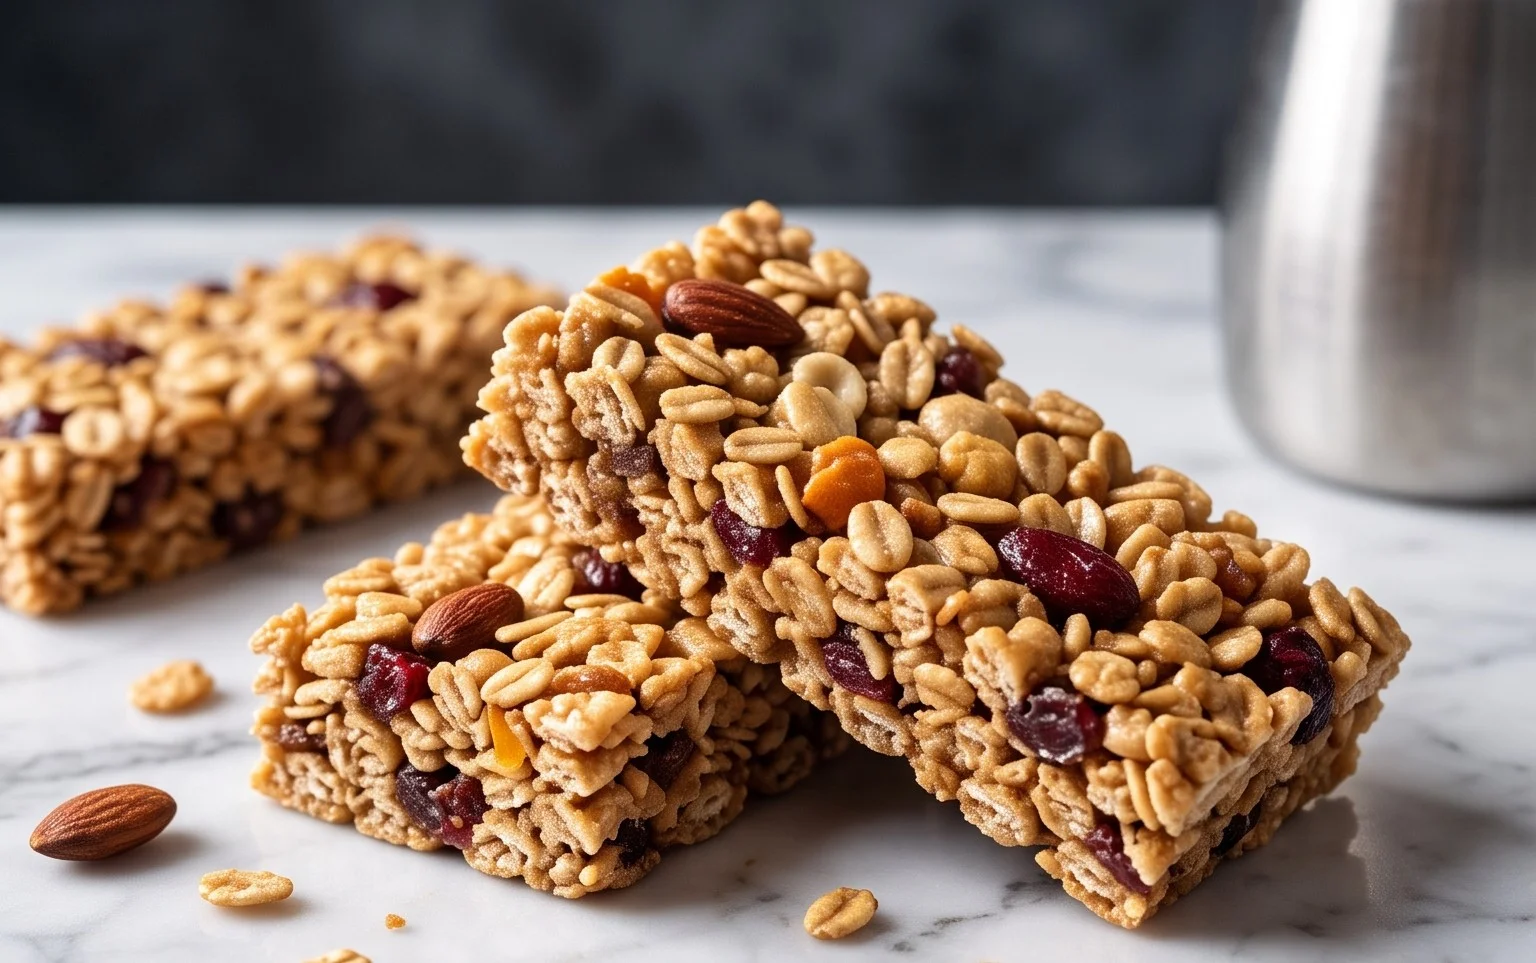
The Ultimate Homemade Cereal Bars: Quick, Easy, and Delicious!
There’s something incredibly satisfying about a homemade treat, and these cereal bars are no exception! They are my go-to for a quick breakfast on busy mornings, a healthier afternoon snack, or even a post-workout refuel. The best part? They are ridiculously easy to make, require minimal ingredients, and you can customize them to your heart’s content. Forget those store-bought bars packed with artificial stuff; we’re going to make something truly delicious and wholesome right in your own kitchen. This recipe is incredibly forgiving, so don’t be afraid to experiment with different cereals and additions!
Ingredients:
- 3 cups cereal of choice (think puffed rice, corn flakes, bran flakes, granola, or even a mix!)
- 2/3 cup peanut butter or nut butter of choice (almond butter, cashew butter, sunflower seed butter all work beautifully)
- 1/2 cup agave, honey, or brown rice syrup (this is your binder and sweetener, adjust to your preference)
- optional 1/2 tsp salt (enhances the sweetness and flavor, especially if using unsalted nut butter)
- optional 3 tbsp protein powder (for an extra boost, choose your favorite flavor – vanilla or unflavored are great choices)
Let’s Get Cooking!
This recipe is so straightforward, you’ll wonder why you ever bought cereal bars before. The process is all about combining, pressing, and chilling. We’re essentially creating a delicious, no-bake confection that holds together beautifully.
Phase 1: Preparing the Base
1. First things first, let’s get our dry ingredients ready. In a large mixing bowl, add your 3 cups of cereal. If you’re using a cereal that has very large pieces, like clusters of granola, I like to give them a gentle crush with my hands or even a quick pulse in a food processor. This helps everything bind together more evenly. You want a good mix of textures, but not enormous chunks that will make the bars fall apart. I often use a combination of puffed rice for lightness and something more substantial like bran flakes for a bit of chew. Feel free to be creative here!
2. Now, let’s get our sticky binder ready. In a microwave-safe bowl or a small saucepan, combine your 2/3 cup of peanut butter (or your chosen nut butter) and your 1/2 cup of agave, honey, or brown rice syrup. If you’re adding the optional 1/2 teaspoon of salt, stir it in now. This salt addition is a secret weapon for balancing sweetness and bringing out the nutty flavors. If you’re feeling extra and want to boost the protein content, this is also the time to add your optional 3 tablespoons of protein powder. If you’re adding protein powder, I recommend stirring it into the nut butter and syrup mixture thoroughly to prevent clumps.
3. Gently heat the nut butter and syrup mixture. If using a microwave, heat in 30-second intervals, stirring well after each interval, until the mixture is smooth and pourable. Be careful not to overheat it; we just want it warm enough to mix easily. If using a saucepan, heat over low to medium-low heat, stirring constantly, until everything is nicely combined and a little runny. The goal is to make it fluid enough to coat the cereal evenly.
Phase 2: Bringing It All Together
4. Pour the warm nut butter and syrup mixture over the cereal in your large mixing bowl. Now comes the fun part: mixing! Use a sturdy spatula or a wooden spoon to gently fold and stir until every single piece of cereal is coated in the delicious, sticky mixture. This might take a minute or two of patient folding. Ensure there are no dry pockets of cereal. You want a cohesive mixture that starts to clump together. If it seems a little dry, you can add another tablespoon of your chosen syrup or a splash more nut butter. Conversely, if it seems too wet, a little extra cereal can help soak it up.
Phase 3: Shaping and Chilling
5. Prepare an 8×8 inch baking dish by lining it with parchment paper, leaving some overhang on the sides. This overhang will be your lifesaver when it comes time to lift the bars out of the dish. Pour your cereal mixture into the prepared baking dish. Now, this is crucial for nice, solid bars: press the mixture down firmly and evenly into the dish. You can use the back of your spatula, your hands (lightly greased if they’re sticking), or even a flat-bottomed glass. The more you press, the more compact and sturdy your bars will be, meaning less crumbling later. Really pack it in there!
6. Once you’ve achieved a nice, even surface, place the baking dish in the refrigerator for at least 1-2 hours, or until the bars are completely firm. This chilling time is essential for the bars to set and hold their shape. The longer they chill, the firmer they’ll become. For an even firmer texture, you can pop them in the freezer for about 30 minutes before cutting.
7. Once chilled and firm, use the parchment paper overhang to lift the entire slab out of the baking dish. Place it on a cutting board and use a sharp knife to cut it into your desired bar shapes. I usually cut mine into about 12 bars, but you can make them bigger or smaller depending on your needs. Store these delicious homemade cereal bars in an airtight container at room temperature for a few days, or in the refrigerator for longer storage. Enjoy!
Conclusion:
There you have it! I’m so excited for you to try this incredibly versatile cereal bar recipe. It’s a fantastic go-to for busy mornings, satisfying afternoon snacks, or even a healthier dessert option. The beauty of these bars lies in their simplicity and the fact that they come together with minimal fuss and readily available ingredients. You can whip up a batch in no time, and the delicious results are always worth it. They’re the perfect canvas for your creativity, allowing you to tailor them to your exact taste preferences.
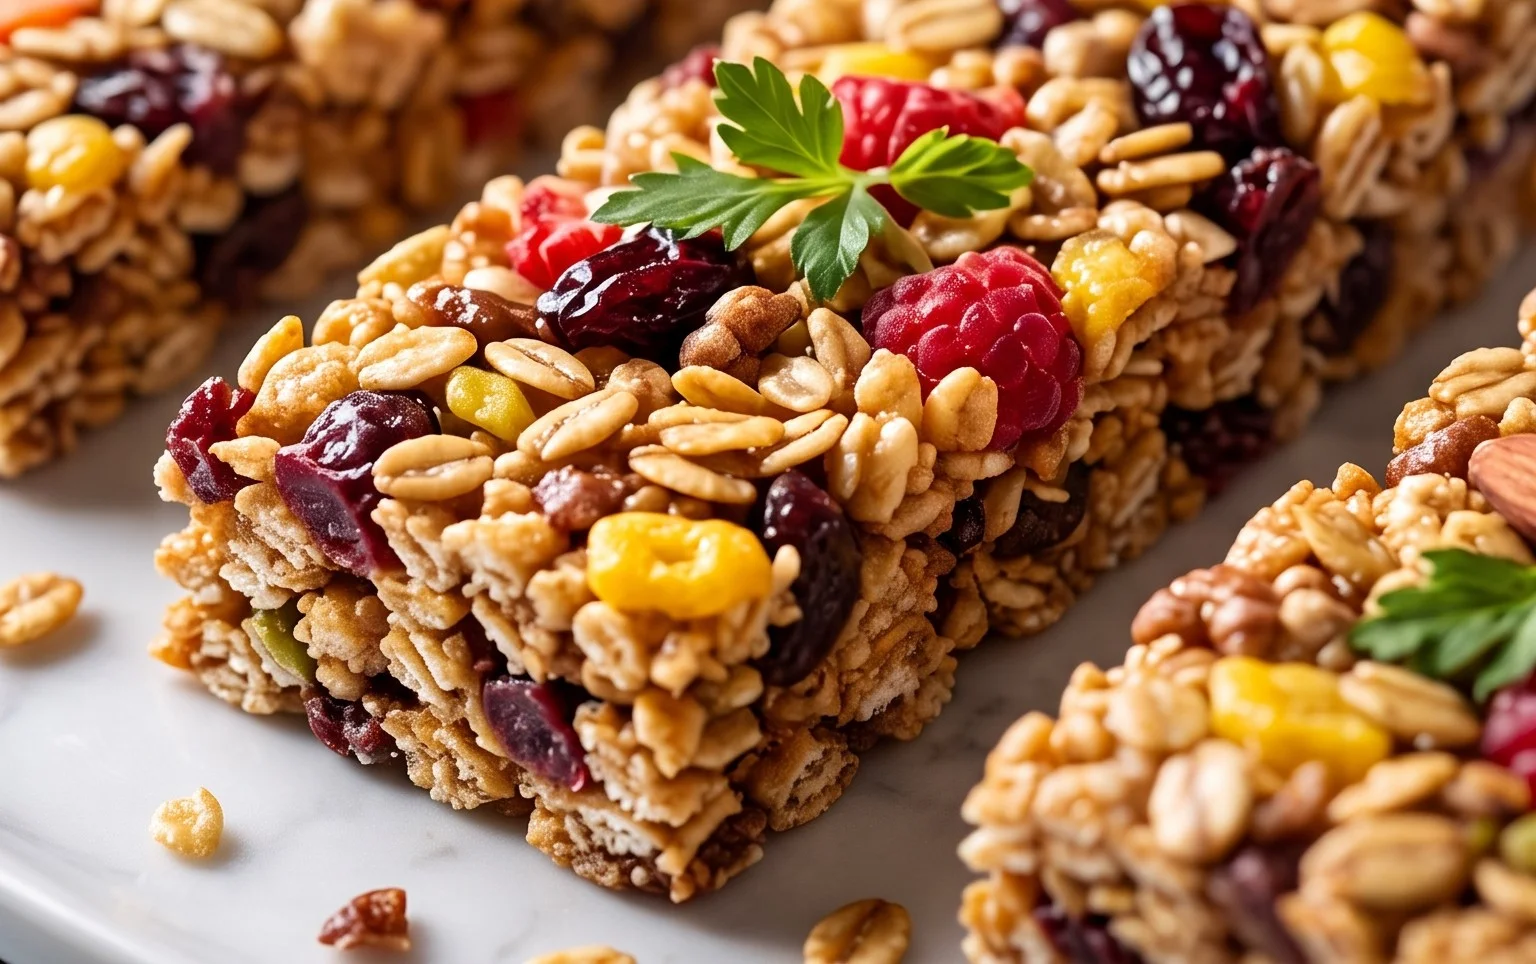
For serving, I love them straight out of the fridge for a firmer bite, or at room temperature for a slightly chewier texture. They’re fantastic with a glass of milk, a cup of coffee, or even tucked into a lunchbox. Don’t be afraid to experiment with variations! Swap out the nuts for seeds, add dried fruit like cranberries or apricots, or even a sprinkle of chocolate chips. The possibilities are truly endless, and I encourage you to make these cereal bars your own!
Frequently Asked Questions:
How do I store these cereal bars?
Store your cereal bars in an airtight container at room temperature for up to 3 days, or in the refrigerator for up to a week. For longer storage, you can wrap individual bars tightly in plastic wrap and freeze them for up to 3 months. Thaw at room temperature before enjoying.
Can I make these cereal bars gluten-free?
Absolutely! You can easily make these gluten-free by using a certified gluten-free cereal and ensuring your oats are also certified gluten-free. Always double-check the labels of your other ingredients like oats and any mix-ins.
My bars are too crumbly. What did I do wrong?
This often happens if there isn’t enough binding agent. Ensure you’ve measured your sticky ingredients (like honey or syrup) accurately and that they are sufficiently heated to coat the dry ingredients evenly. Pressing the mixture down firmly into the pan before baking also helps create a cohesive bar.
Easy Cereal Bars
Simple and customizable cereal bars perfect for a quick snack or breakfast on the go.
Ingredients
-
3 cups cereal of choice
-
2/3 cup peanut butter or nut butter of choice
-
1/2 cup agave, honey, or brown rice syrup
-
1/2 tsp salt
-
3 tbsp protein powder
Instructions
-
Step 1
Line an 8×8 inch baking pan with parchment paper, leaving an overhang on the sides. -
Step 2
In a large bowl, combine the cereal, peanut butter (or nut butter), and sweetener (agave, honey, or brown rice syrup). If using, add salt and protein powder. -
Step 3
Stir everything together until well combined and the cereal is evenly coated. -
Step 4
Transfer the mixture to the prepared baking pan. -
Step 5
Press the mixture firmly and evenly into the pan using the back of a spoon or your hands. Ensure it’s compacted tightly. -
Step 6
Refrigerate for at least 1 hour, or until firm. -
Step 7
Once firm, lift the bars out of the pan using the parchment paper overhang and cut into desired bar sizes.
Important Information
Nutrition Facts (Per Serving)
It is important to consider this information as approximate and not to use it as definitive health advice.
Allergy Information
Please check ingredients for potential allergens and consult a health professional if in doubt.