Chewy Chocolate Chip Cookies- Bakery Style Recipe
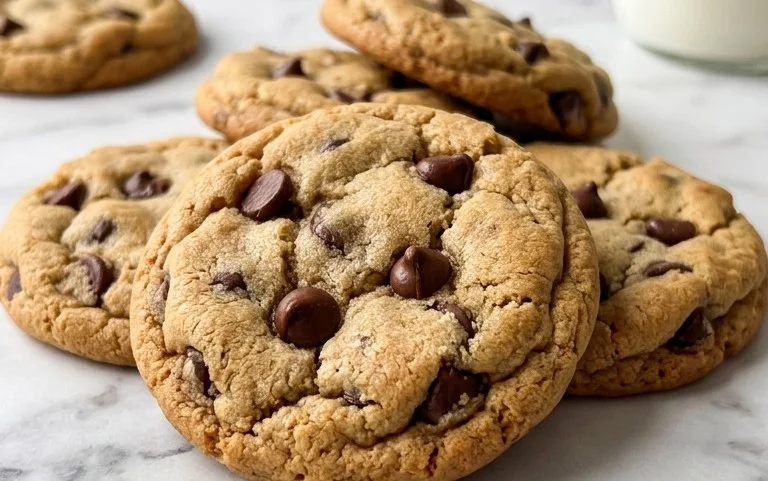
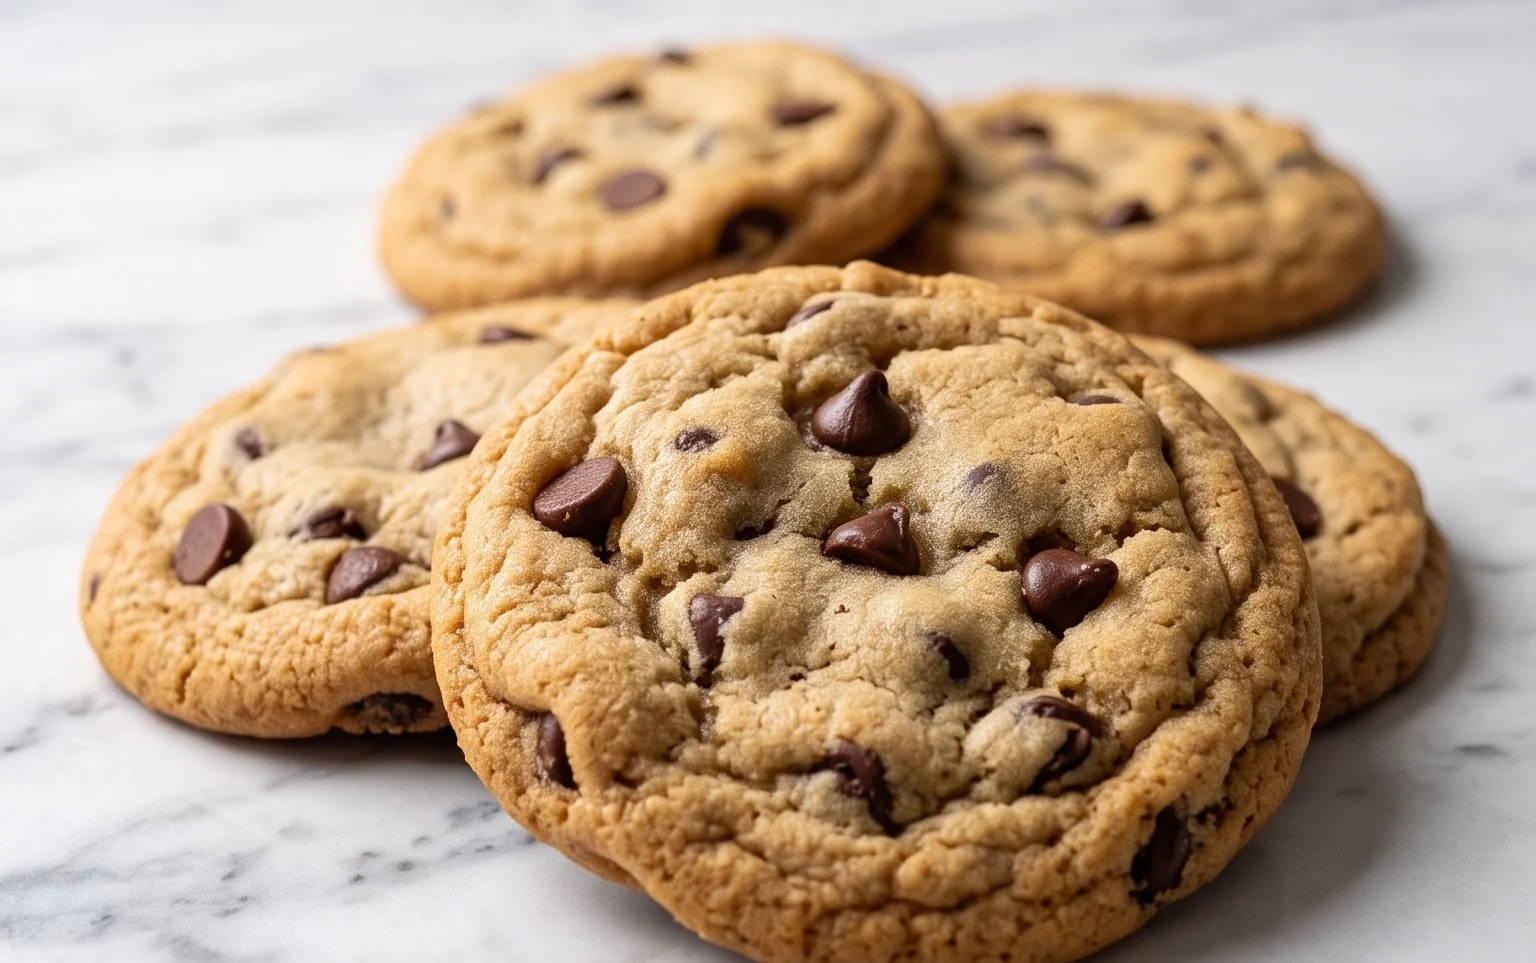
Bakery style chocolate chip cookies are more than just a treat; they’re a nostalgic hug, a comforting aroma that instantly transports you back to simpler times. We all have that memory, don’t we? The first bite of a perfectly baked cookie, still warm from the oven, with its crisp edges giving way to a chewy, tender center, all studded with pockets of molten chocolate. It’s that irresistible combination of textures and flavors that makes bakery style chocolate chip cookies so universally beloved. But what truly sets these apart? It’s the dedication to achieving that perfect balance: a rich, buttery dough, the right amount of sweetness, and a generous hand with high-quality chocolate chips. Forget those flat, sad cookies; we’re talking about the kind that make you close your eyes with every delicious mouthful. Get ready to master the art of the ultimate bakery style chocolate chip cookie right in your own kitchen!
Bakery Style Chocolate Chip Cookies
There’s something undeniably magical about a bakery-style chocolate chip cookie. It’s that perfect balance of chewy center, crisp edges, and an abundance of gooey chocolate that transports you back to childhood. I’ve spent years perfecting my recipe, and I’m thrilled to share it with you today. This isn’t just any chocolate chip cookie recipe; it’s designed to replicate that irresistible texture and flavor you find in your favorite local bakery. The key lies in a few specific ingredient choices and a slightly unconventional approach to creaming the butter and sugars, which we’ll get into shortly. Get ready to fill your kitchen with the most incredible aroma and impress everyone with your baking prowess!
Ingredients:
- 3 cups (380 grams) all-purpose flour
- 1 teaspoon baking soda
- 1 teaspoon fine sea salt
- 2 sticks (227 grams) unsalted butter, (at cool room temperature (67°F))
- 1/2 cup (100 grams) granulated sugar
- 1 1/4 cups (247 grams) lightly packed light brown sugar
- 2 teaspoons vanilla
- 2 large eggs, (at room temperature)
- 2 cups (340 grams) semisweet chocolate chips
The Art of the Bake: Creating Bakery-Worthy Cookies
Let’s dive into the process that will transform these simple ingredients into cookie perfection. Following these steps carefully will ensure you achieve that sought-after bakery texture.
1. Preparing the Dry Ingredients: In a medium bowl, whisk together the all-purpose flour, baking soda, and fine sea salt. Whisking ensures that the leavening agent (baking soda) and salt are evenly distributed throughout the flour, which is crucial for consistent cookie rise and flavor. This simple step prevents pockets of saltiness or dense spots in your cookies. Set this mixture aside.
2. The Creaming Technique for Ultimate Chewiness: This is where we deviate slightly from the standard for that bakery-like texture. In a large bowl, beat the softened, cool unsalted butter (it should feel slightly firm but yield to gentle pressure, around 67°F) with both the granulated sugar and the lightly packed light brown sugar. Beat on medium speed for a good 3-5 minutes. You’re not just combining them; you want to aerate the mixture significantly. The butter should become pale and fluffy, and the sugars should be thoroughly incorporated. This long creaming period is essential for creating structure and a tender crumb in the final cookie. Don’t rush this step; it’s a critical foundation for our cookies.
3. Incorporating the Wet Ingredients: Once the butter and sugar mixture is light and fluffy, it’s time to add the wet ingredients. Beat in the vanilla extract until combined. Then, add the large eggs, one at a time, beating well after each addition. Ensure each egg is fully incorporated before adding the next. Using room-temperature eggs also helps with emulsification, leading to a smoother batter and a more uniform cookie. Scrape down the sides of the bowl as needed to make sure everything is thoroughly mixed. The batter at this stage should be smooth and glossy.
4. Bringing It All Together: Gradually add the dry ingredient mixture to the wet ingredients, mixing on low speed until *just* combined. It’s important not to overmix here. Overmixing can develop the gluten in the flour too much, resulting in tough cookies. Stop mixing as soon as you no longer see streaks of dry flour. A few small lumps are perfectly acceptable.
5. The Chocolate Chip Infusion: Now for the star of the show! Gently fold in the semisweet chocolate chips using a spatula or wooden spoon. Distribute them evenly throughout the dough. I like to reserve a small handful of chocolate chips to press onto the tops of the dough balls before baking. This gives the cookies that extra-special, “just-baked-in-a-bakery” look, with plenty of chocolate visible on the surface.
6. Chilling for Optimal Flavor and Texture: This is arguably the most important step for achieving that authentic bakery texture and preventing excessive spreading. Cover the bowl of cookie dough with plastic wrap and refrigerate for at least 2 hours, or ideally, overnight. Chilling the dough allows the flour to hydrate fully, which results in a chewier cookie. It also solidifies the fat, preventing the cookies from spreading too thin during baking and concentrating the flavors for a richer taste.
7. Baking to Golden Perfection: When you’re ready to bake, preheat your oven to 375°F (190°C). Line baking sheets with parchment paper to prevent sticking and ensure even browning. Scoop rounded tablespoons of the chilled dough onto the prepared baking sheets, leaving about 2 inches between each cookie to allow for spreading. If you reserved extra chocolate chips, press a few onto the tops of the dough balls now. Bake for 10-12 minutes, or until the edges are golden brown and the centers still look slightly soft and underbaked. They will continue to cook and set on the hot baking sheet after you remove them from the oven.
8. Cooling and Enjoying: Let the cookies cool on the baking sheets for 5-10 minutes before transferring them to a wire rack to cool completely. This resting period is crucial for the cookies to firm up properly. Once they’ve cooled, enjoy the fruits of your labor! These bakery-style chocolate chip cookies are best enjoyed fresh, perhaps with a glass of cold milk. They store well in an airtight container at room temperature for several days, though I doubt they’ll last that long!
Conclusion:
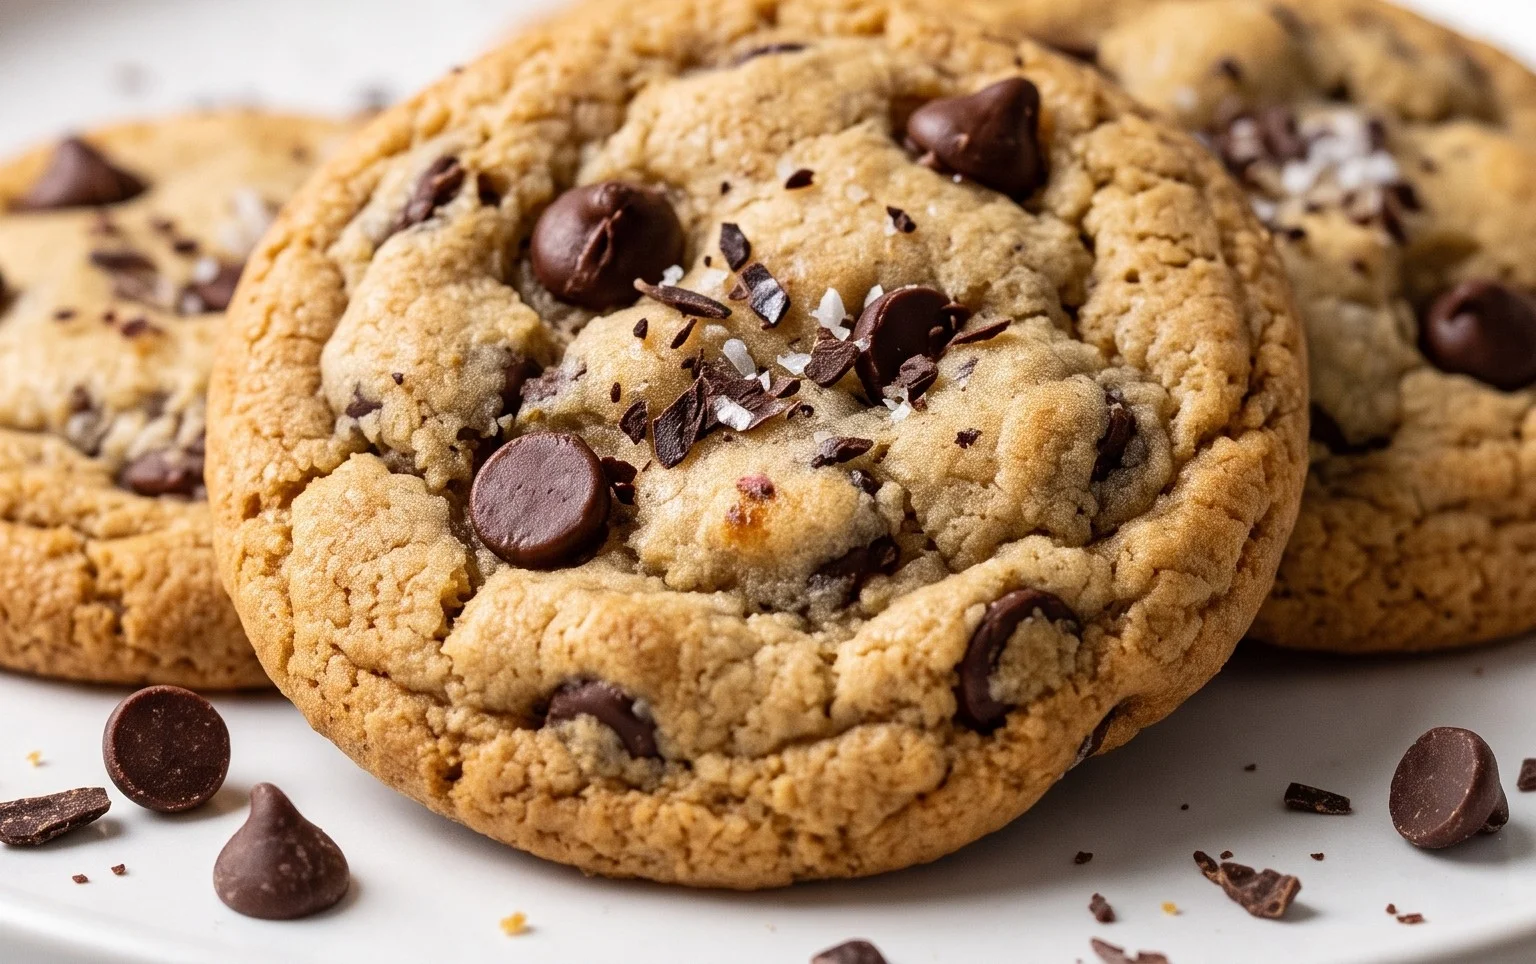
You’ve now got the blueprint to achieve those coveted bakery-style chocolate chip cookies right in your own kitchen! This recipe delivers on chewy centers, crisp edges, and that irresistible melt-in-your-mouth texture, all thanks to the perfect balance of ingredients and the simple chilling step. Forget those sad, flat cookies; these are destined to become a new family favorite. Imagine serving these warm, fresh from the oven, perhaps with a glass of cold milk or a scoop of vanilla ice cream. For a delightful twist, consider adding a sprinkle of sea salt on top before baking for an extra pop of flavor, or stir in some chopped nuts for added crunch. Don’t be afraid to experiment with different types of chocolate chips – milk, dark, or even white chocolate can create unique flavor profiles. I truly encourage you to give this bakery-style chocolate chip cookie recipe a try. You’ll be amazed at how easily you can replicate that professional bakery quality. Happy baking!
Frequently Asked Questions:
Why are my cookies spreading too much?
Excessive spreading can often be due to a few factors. Ensure your butter is softened but not melted, as melted butter leads to a runnier dough. Also, make sure you’re not overmixing the dough after adding the flour; overmixing develops gluten, which can cause spreading. Chilling the dough for at least 30 minutes is crucial to prevent this.
Can I use margarine instead of butter?
While you *can* use margarine, it’s not recommended if you’re aiming for true bakery-style results. Butter contributes significantly to the flavor and texture of cookies, including that desirable chewiness and crispness. Margarine often contains more water and less fat, which can lead to a different texture and a less rich flavor.
How should I store these cookies to keep them fresh?
Once completely cooled, store your bakery-style chocolate chip cookies in an airtight container at room temperature for up to 3-4 days. To maintain freshness for longer, you can freeze baked cookies for up to 3 months. You can also freeze the dough balls, and bake them directly from frozen, adding a couple of extra minutes to the baking time.
Bakery Style Chocolate Chip Cookies
Thick, chewy, and undeniably delicious chocolate chip cookies with a perfect bakery-style texture.
Ingredients
-
3 cups (380 grams) all-purpose flour
-
1 teaspoon baking soda
-
1 teaspoon fine sea salt
-
2 sticks (227 grams) unsalted butter, (at cool room temperature (67°F))
-
1/2 cup (100 grams) granulated sugar
-
1 1/4 cups (247 grams) lightly packed light brown sugar
-
2 teaspoons vanilla
-
2 large eggs, (at room temperature)
-
2 cups (340 grams) semisweet chocolate chips
Instructions
-
Step 1
In a medium bowl, whisk together the flour, baking soda, and salt. Set aside. -
Step 2
In a large bowl, cream together the butter, granulated sugar, and brown sugar until light and fluffy. -
Step 3
Beat in the vanilla extract and then the eggs, one at a time, until fully incorporated. -
Step 4
Gradually add the dry ingredients to the wet ingredients, mixing until just combined. Do not overmix. -
Step 5
Stir in the chocolate chips. -
Step 6
Drop rounded tablespoons of dough onto a parchment-lined baking sheet, about 2 inches apart. -
Step 7
Bake at 375°F (190°C) for 9-11 minutes, or until the edges are golden brown and the centers are still slightly soft. -
Step 8
Let the cookies cool on the baking sheet for a few minutes before transferring them to a wire rack to cool completely.
Important Information
Nutrition Facts (Per Serving)
It is important to consider this information as approximate and not to use it as definitive health advice.
Allergy Information
Please check ingredients for potential allergens and consult a health professional if in doubt.