Easy Crescent Roll Witch Hats for Halloween
Crescent Roll Witch Hats are a fun and easy treat that practically makes itself. What I love about these is how they use super common ingredients you probably already have, like refrigerated crescent roll dough and beef pepperoni. The dough bakes up flaky and golden, forming the perfect little hat shape, while the beef pepperoni crisps up just right to give it a savory kick. They’re not just cute; they’re genuinely delicious, making them a hit with kids and adults alike. I usually make a big batch when Halloween season rolls around because they’re so simple to assemble, and everyone asks for the recipe. If you’re looking for a festive snack without a lot of stress, these little witch hats are a fantastic choice. They’re perfect for school parties, spooky movie nights, or just a fun afternoon project.
Crescent Roll Witch Hats
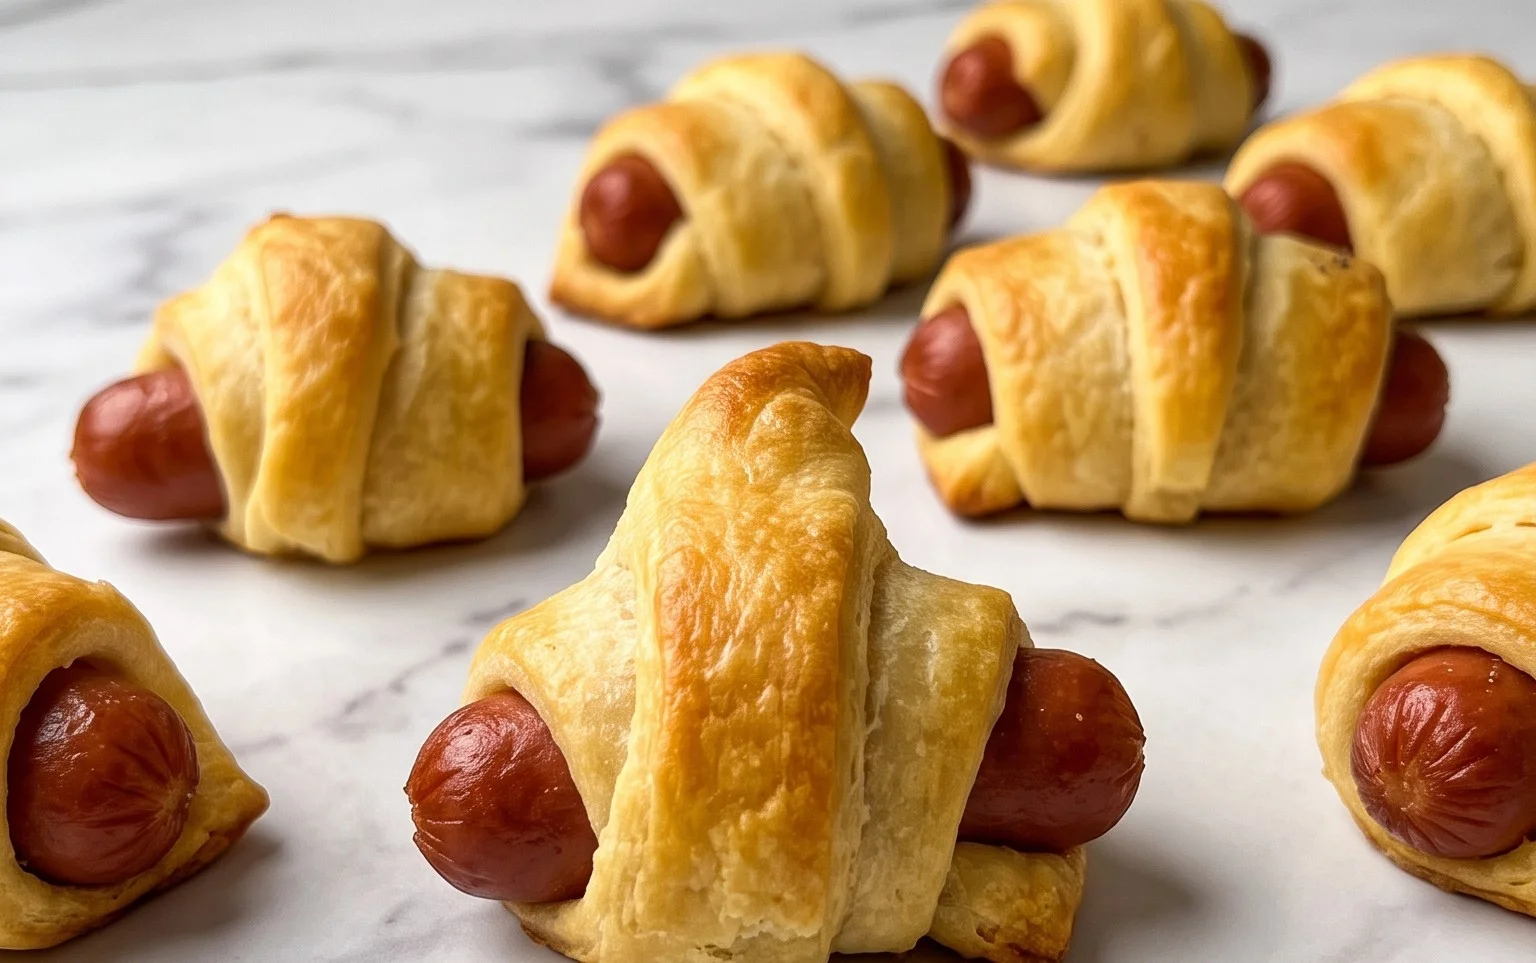
These little witch hats are so fun to make and even more fun to eat. They start with simple refrigerated crescent rolls, which are a total lifesaver when you want something festive without a lot of fuss. The star of the show, besides the crescent roll itself forming the hat, is the beef pepperoni. It gets perfectly crispy and adds a salty, savory bite that’s just fantastic. We’re keeping it super straightforward, but I’ll share a couple of ways you can make them even more special if you like. They’re perfect for Halloween parties, school treats, or just a fun afternoon baking project with the kids.
Ingredients:
- 1 Refrigerated Crescent Roll Dough Package
- Beef Beef Pepperoni
- Optional: Mozzarella cheese sticks (mini star cookie cutter)
Making the Witch Hats
Step 1: Preparing the Crescent Roll Dough
First things first, let’s get our crescent roll dough ready. You want to unroll the package carefully onto a clean, lightly floured surface. Sometimes the dough can be a bit sticky, so a tiny bit of flour helps keep things from clinging. Try not to overwork the dough; just gently separate the triangles. If you’re using a large tube of crescent roll dough that has the perforations, you’ll want to carefully pinch those perforations back together to create a more solid rectangle or sheet of dough. This step is important because it prevents the dough from separating into individual triangles when you bake it, which could make your hats fall apart. We’re aiming for a nice, unified base for our hats.
Step 2: Shaping the Hat Brim and Cone
Now for the magic: shaping the hats. You’ll want to take one of the crescent roll triangles and form it into a cone shape. Pinch the wide end together to close it up, creating a little pocket inside. This pocket is where the flavor is going to go. Think of it like the opening of a witch’s hat. You don’t need to be super precise here; a little rustic charm is part of the appeal. Next, we need a brim. You can cut a circle out of the remaining dough, or if you want a simpler approach, just use the wide edge of your cone-shaped dough piece as the base for the brim. If you do cut a brim, make sure it’s wide enough to look like a hat. You can gently press the cone onto the brim to help them stick together, or just let them bake side-by-side and assemble after.
Step 3: Adding the Beef Pepperoni and Optional Cheese
This is where the flavor really kicks in. Take your beef beef pepperoni slices and place them inside the cone part of your crescent roll shapes. You can overlap them a bit to get maximum beef pepperoni goodness in every bite. If you’re using the optional mozzarella cheese sticks, now is the time to add them. You can cut the mini mozzarella sticks into smaller pieces or even use a mini star cookie cutter to make little cheese stars. Stuff these cheese pieces into the cone along with the beef pepperoni. The cheese will melt and become gooey, adding a wonderful richness to the hat. Don’t overstuff, or the dough might have trouble sealing properly.
Step 4: Baking the Witch Hats
Preheat your oven according to the crescent roll package directions, usually around 375°F (190°C). Place your shaped witch hats on a baking sheet lined with parchment paper for easy cleanup. Parchment paper is your friend here; it prevents sticking and makes for much easier handling. Leave a little space between each hat so they have room to expand without touching. Bake for about 10-15 minutes, or until the crescent roll dough is golden brown and puffed up nicely. Keep an eye on them, as oven temperatures can vary. You want them to be cooked through and slightly crispy on the outside, with the beef pepperoni getting a little bit crisped up around the edges and the cheese (if used) melted and bubbly.
Step 5: Assembling and Finishing Touches
Once your hats are baked to perfection, let them cool on the baking sheet for a minute or two. If you made separate brims and cones, now is the time to gently place the cone on top of its brim. If you didn’t make a separate brim, you can just enjoy the cone shape. The beef pepperoni should be visible peeking out, and if you added cheese, it will have melted into a delicious, gooey center. These are wonderful served warm, but they’re also tasty at room temperature. You can serve them as they are, or if you’re feeling extra fancy and have a mini star cookie cutter, you could cut a few small stars out of extra mozzarella cheese and place them on top of the brim or cone for an extra festive touch. These are surprisingly satisfying and always a hit!
Conclusion:
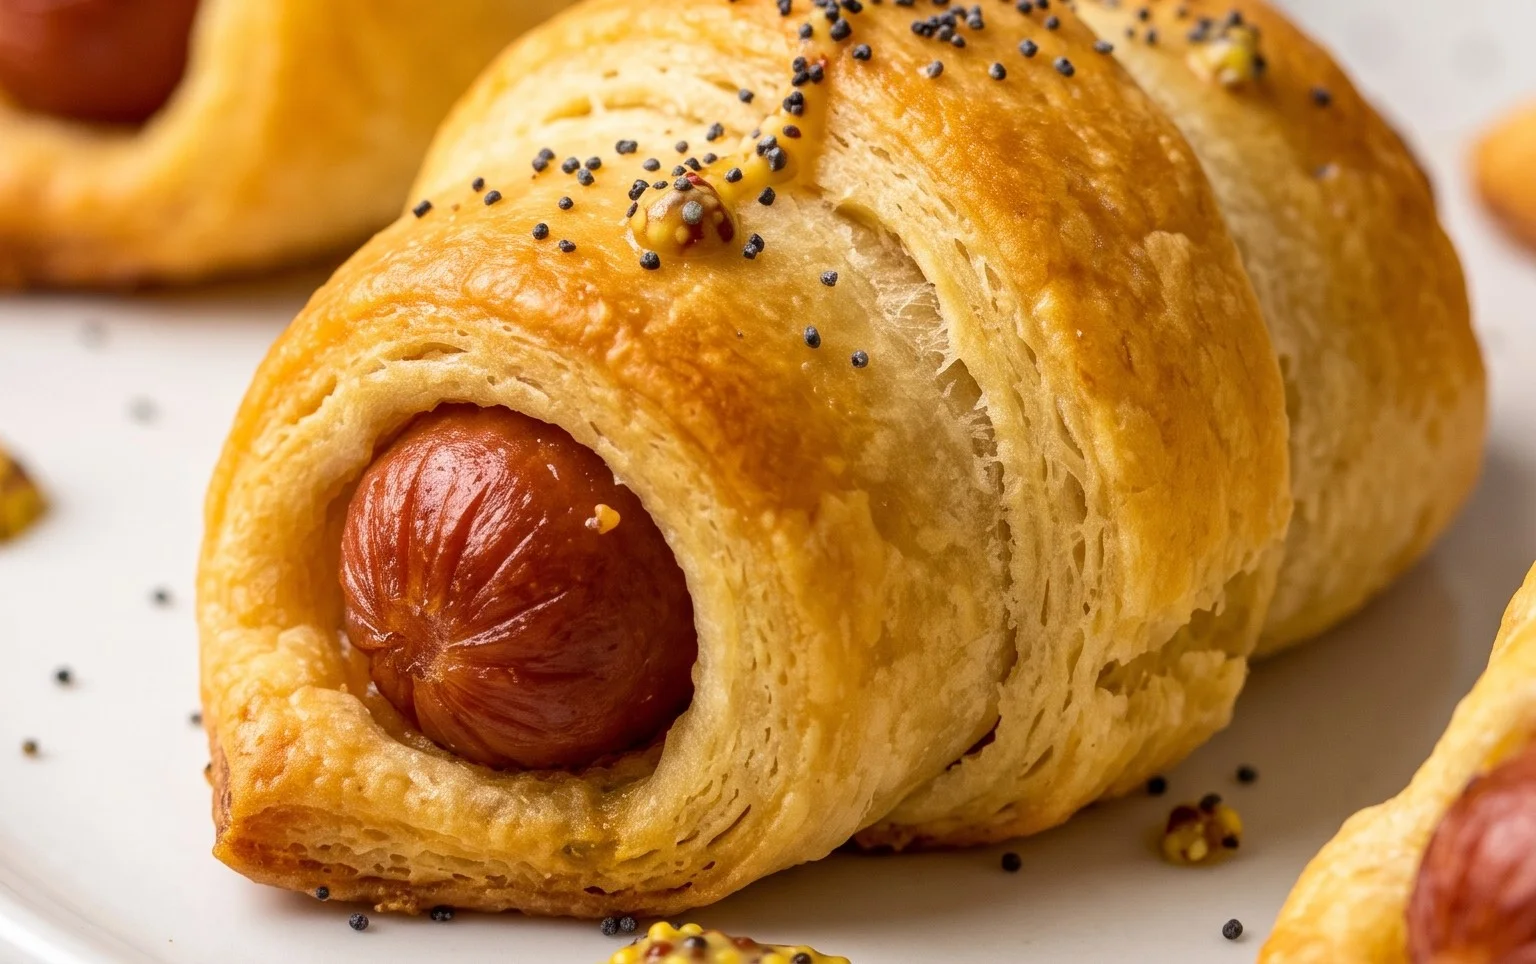
So there you have it – simple, delicious Crescent Roll Witch Hats that are as fun to make as they are to eat. They come together quickly, meaning you can whip them up even on a busy Halloween week. The combination of flaky crescent dough and savory beef pepperoni is a winner every time, and they look so festive on a party platter. You can easily customize them further too! Try adding a dab of marinara sauce inside before baking, or sprinkle some shredded mozzarella on top for a cheesy twist. For a sweeter version, skip the beef pepperoni and fill the center with a bit of jam or chocolate chips. They store well in an airtight container at room temperature for a day or two, though they are best enjoyed fresh when the dough is at its flakiest.
Frequently Asked Questions:
Can I make these ahead of time?
You can assemble them a few hours before baking and keep them covered in the fridge. For best results, bake them just before serving so they are warm and flaky.
What else can I put inside besides beef pepperoni?
You can get creative! Mini cooked sausages, cheese cubes, or even a dollop of pizza sauce would work well. Just make sure whatever you add is small enough to fit and won’t make the dough too soggy.
Are these spicy?
Most regular beef pepperoni has a mild spice. If you prefer them not spicy at all, you can use a mild beef salami or even omit the beef pepperoni and add a sprinkle of garlic powder to the dough instead.
Crescent Roll Witch Hats
Festive and fun witch hats made from crescent rolls and pepperoni, perfect for Halloween. Optionally decorated with cheese stars.
Ingredients
-
1 Refrigerated Crescent Roll Dough Package
-
Beef Pepperoni
-
Mozzarella cheese sticks
-
Mini star cookie cutter
-
1 tablespoon olive oil
-
1/4 teaspoon garlic powder
-
Pinch of salt
Instructions
-
Step 1
Preheat oven to 375°F (190°C). Lightly grease a baking sheet. -
Step 2
Unroll the crescent roll dough and separate into triangles. Flatten each triangle slightly. -
Step 3
Place a few slices of beef pepperoni onto the wider end of each crescent roll triangle. If using, cut mozzarella cheese sticks into small pieces and place on top of pepperoni. -
Step 4
Roll up each triangle from the wide end to the point, enclosing the filling. Gently shape the tip to form a hat point. -
Step 5
In a small bowl, whisk together olive oil, garlic powder, and salt. Brush the tops of the witch hats with the mixture. -
Step 6
Bake for 10-12 minutes, or until golden brown and puffed. -
Step 7
If using, cut out small stars from mozzarella cheese sticks using the mini star cookie cutter. Gently press them onto the warm hats after baking.
Important Information
Nutrition Facts (Per Serving)
It is important to consider this information as approximate and not to use it as definitive health advice.
Allergy Information
Please check ingredients for potential allergens and consult a health professional if in doubt.