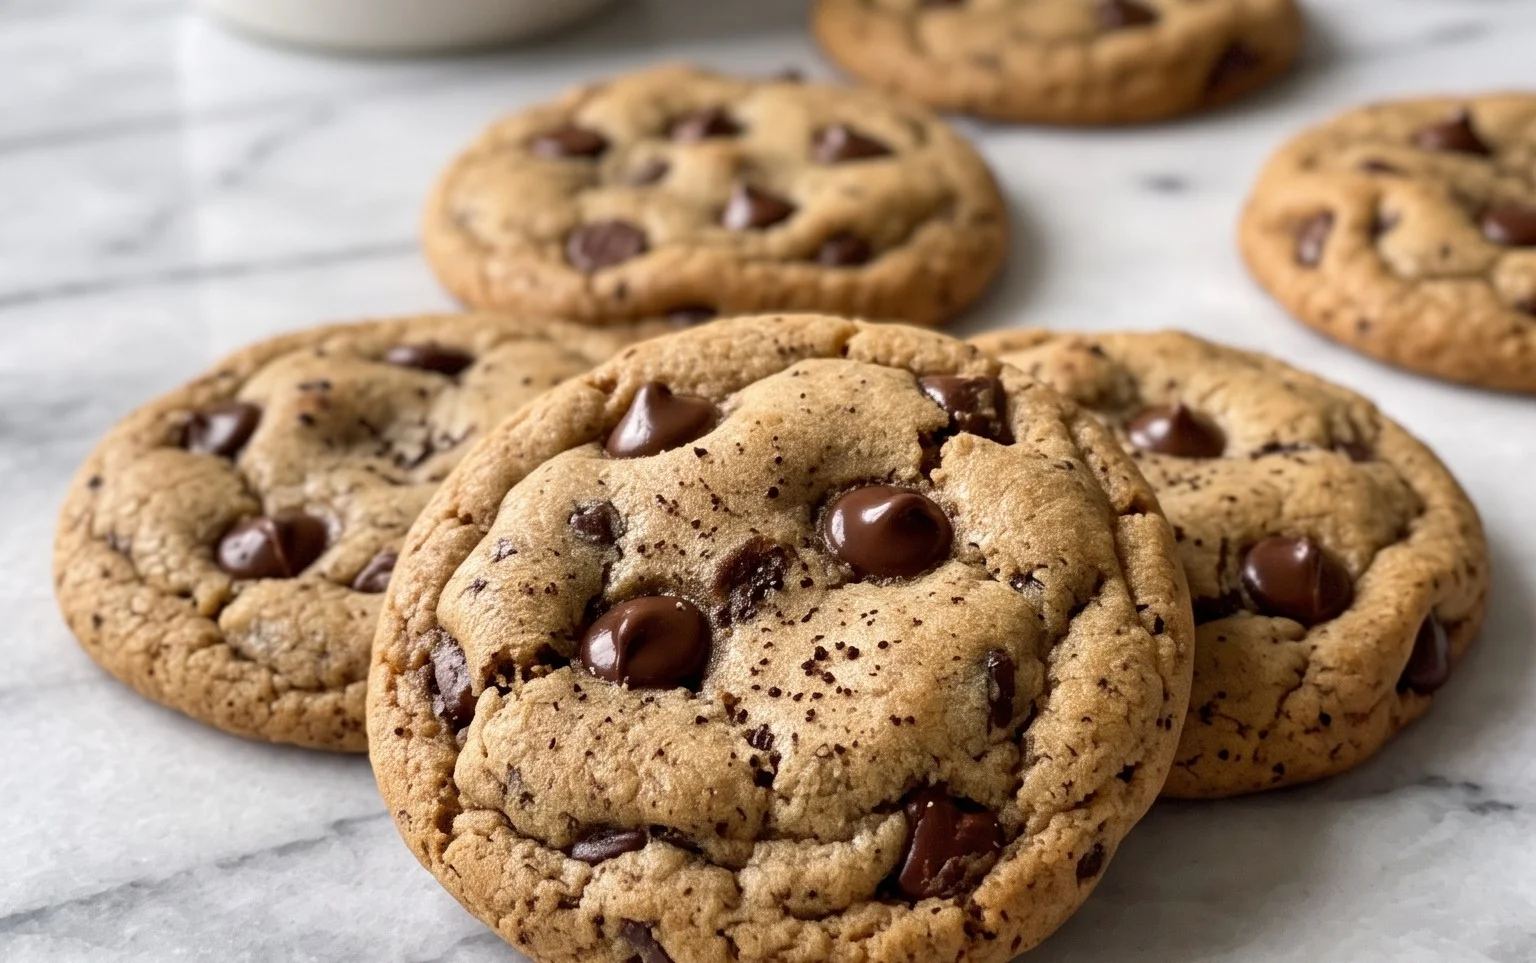
Kid-Approved School Lunch Ideas That Aren’t Boring
School lunches your kids will actually eat can feel like a mythical quest, can’t they? As the summer sun fades and the school bell looms, the dreaded question arises: “What will I pack for lunch today?” We’ve all been there, staring into the abyss of the pantry, hoping for inspiration to strike while simultaneously dreading the inevitable lunchbox rejection. But fear not, fellow parents! This year, we’re ditching the soggy sandwiches and uneaten fruit. This collection of school lunches your kids will actually eat is designed to bring joy back to the midday meal. What makes these recipes so special? They’re packed with flavor, customizable to picky eaters, and best of all, they’re a hit that even the most discerning youngsters will devour. Get ready to win the lunchbox battle!
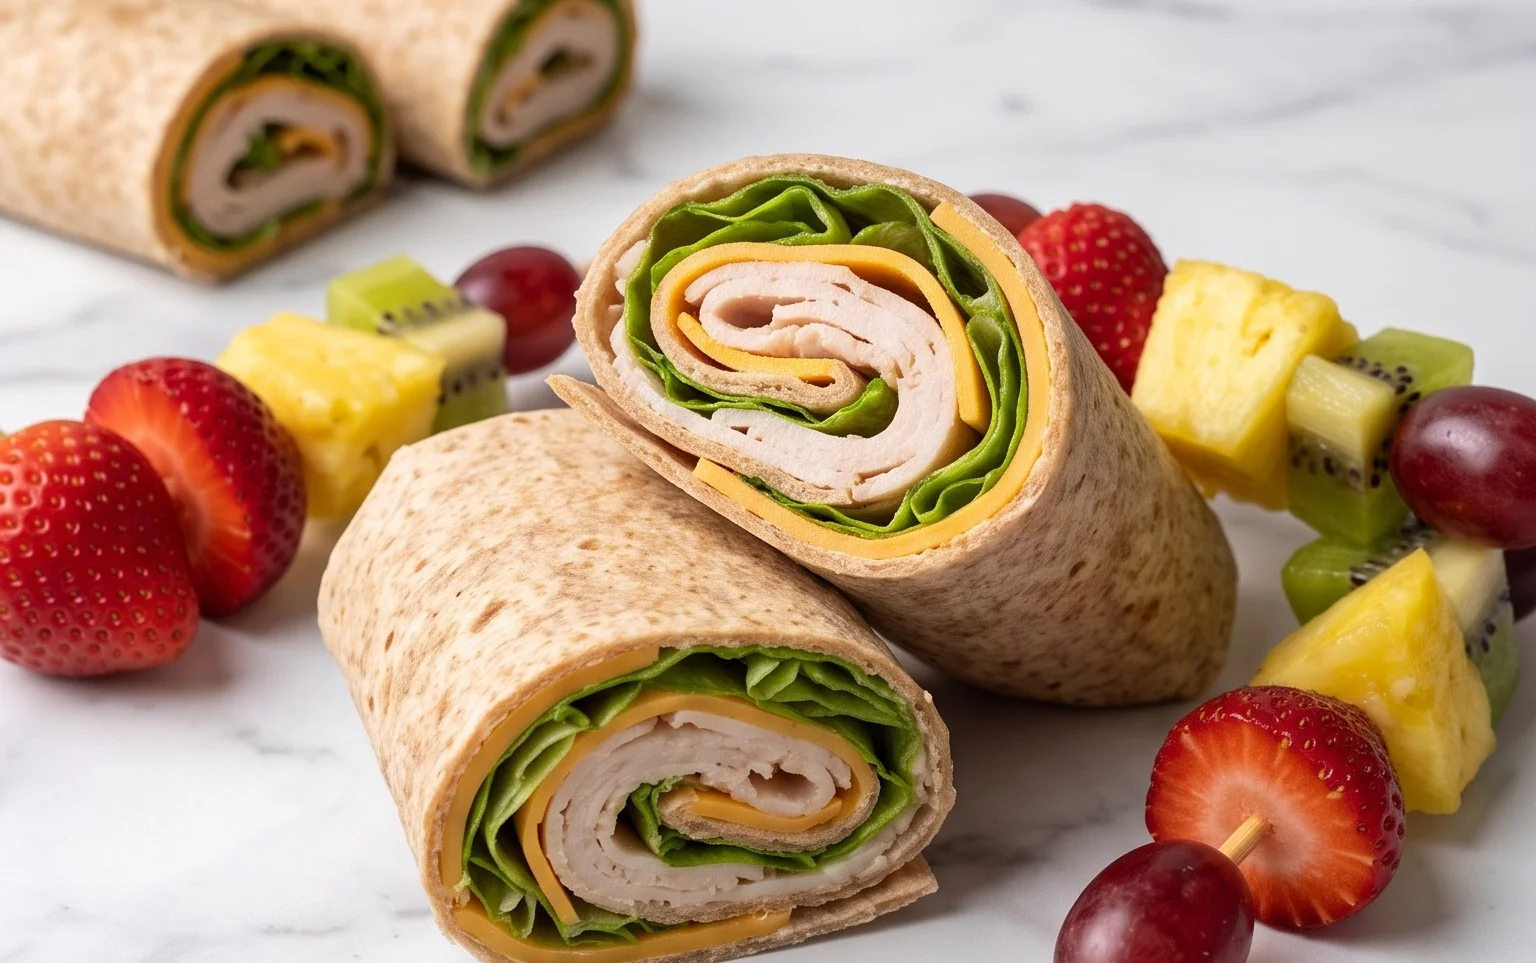
Back to School: School Lunches Your Kids Will Actually Eat
The school bells are ringing, and that familiar scramble for nutritious, kid-approved lunches is back! Gone are the lazy summer days of whatever’s easiest. Now, we need lunches that are not only packed with goodness but also exciting enough to conquer picky eaters and lunchbox boredom. I’ve found that the key is variety, a little creativity, and incorporating some of their favorite flavors in a school-friendly format. Forget the sad, squished sandwiches that end up half-eaten. We’re talking about meals that will have them excitedly telling you all about their lunch at the dinner table. Let’s dive into some ideas that are sure to be a hit!
Ingredients:
- 1 pound boneless, skinless chicken breasts
- 1 tablespoon olive oil
- 1 teaspoon chili powder
- 1/2 teaspoon cumin
- 1/4 teaspoon garlic powder
- Salt and black pepper to taste
- 8 whole wheat tortillas
- 1 cup shredded cheddar cheese
- 1/2 cup black beans, rinsed and drained
- 1/4 cup corn (canned or frozen, thawed)
- 1/4 cup salsa (mild or medium, depending on preference)
- Optional: Shredded lettuce, diced tomatoes, sour cream or Greek yogurt for serving
- 1 pound lean ground beef or turkey
- 1 packet taco seasoning
- 1/4 cup water
- 1 cup cooked rice (brown or white)
- 1/2 cup shredded Monterey Jack cheese
- 1/4 cup diced bell peppers (any color)
- 1/4 cup diced onion
- 8 small pita breads
- 1 cup hummus
- 1/2 cup chopped cucumber
- 1/2 cup chopped bell peppers
- 1/4 cup chopped fresh parsley
- Juice of 1/2 lemon
- 1 pound pasta (rotini, penne, or bowtie work well)
- 1/4 cup pesto
- 1/4 cup cherry tomatoes, halved
- 1/4 cup mozzarella balls, halved
- Optional: A sprinkle of Parmesan cheese
- 1 loaf whole wheat bread
- 1/2 cup cream cheese, softened
- 1/4 cup finely chopped chives
- Salt and pepper to taste
- 1 cup cubed beef ham or turkey breast
- 1 cup shredded Swiss or cheddar cheese
- 1/2 cup grated carrot
- 1/4 cup mayonnaise or Greek yogurt
Step-by-Step Lunchtime Success!
Let’s get down to making these lunchbox heroes. Many of these can be prepped in advance, saving you precious morning minutes.
Phase 1: Flavorful Chicken Fajita Wraps
This is a fantastic way to use up chicken and pack in some vibrant flavors. The key here is to cook the chicken thoroughly and then slice or shred it finely for easy wrapping.
1. Begin by preparing your chicken. In a bowl, toss the chicken breasts with olive oil, chili powder, cumin, garlic powder, salt, and pepper. Make sure each piece is well coated.
2. Heat a skillet over medium-high heat. Add the seasoned chicken and cook for about 6-8 minutes per side, or until cooked through and no pink remains. Once cooked, let it rest for a few minutes before dicing or shredding it into bite-sized pieces. This resting step is crucial to keep the chicken juicy and tender.
3. Warm the tortillas slightly. You can do this in a dry skillet for about 30 seconds per side, or by wrapping them in a damp paper towel and microwaving for 20-30 seconds. This makes them more pliable and less likely to tear when rolling.
4. To assemble the fajita wraps, lay out a tortilla. Spread a thin layer of salsa (if using), then layer with your shredded chicken, black beans, corn, and shredded cheddar cheese. If you’re packing these ahead of time, it’s best to add the cheese on top of the chicken and other fillings to prevent the tortilla from becoming soggy from the beans and corn.
5. Fold in the sides of the tortilla and then roll it up tightly. You can wrap them in parchment paper or foil to keep them secure and presentable in the lunchbox. If your child prefers, you can even slice them in half before wrapping.
Phase 2: Speedy Taco Salad Bowls (Deconstructed for Lunchboxes!)
Taco flavors are always a winner, and deconstructing them for a lunchbox makes it easy for kids to assemble and enjoy. This prevents the ingredients from getting soggy.
1. Cook the ground beef or turkey according to the taco seasoning packet instructions, adding the water. Ensure it’s fully cooked through and drained of any excess grease.
2. If you’re not using pre-cooked rice, prepare your rice according to package directions. Allow it to cool completely before packing.
3. In a lunchbox container, place a layer of cooked rice. Top with the seasoned taco meat, shredded Monterey Jack cheese, diced bell peppers, and diced onion.
4. Pack the salsa, and any other desired toppings like shredded lettuce or a small container of sour cream or Greek yogurt, in separate compartments or small lidded containers. This keeps everything fresh and prevents the salad from becoming a mushy mess.
Phase 3: Mediterranean Pita Pockets with Hummus Delight
These pita pockets are light, refreshing, and packed with healthy ingredients. The combination of creamy hummus, crunchy vegetables, and fresh herbs is a winner.
1. If you’re using whole pita breads, slice them in half horizontally to create pockets. You can warm them gently in a toaster oven or a dry skillet if your child prefers them warm, but they are also delicious at room temperature.
2. In a small bowl, combine the hummus with the chopped cucumber, chopped bell peppers, chopped fresh parsley, and lemon juice. Season with a pinch of salt and pepper if desired. This creates a flavorful, spreadable filling.
3. Generously spread the hummus mixture inside each pita pocket. For an extra boost of protein, you can add some cooked chickpeas or even some thinly sliced grilled chicken if you have leftovers.
Phase 4: Pesto Pasta Salad with Cherry Tomatoes and Mozzarella
Pasta salad is a lunchbox classic for a reason – it’s versatile and can be made ahead of time. The pesto adds a vibrant green color and a delicious herby flavor.
1. Cook your pasta according to package directions until al dente. Be careful not to overcook it, as it will continue to soften slightly in the salad. Drain the pasta well and rinse it with cold water to stop the cooking process and prevent it from clumping together.
2. In a large bowl, toss the cooled pasta with pesto. Ensure every piece of pasta is coated with the vibrant green sauce.
3. Gently fold in the halved cherry tomatoes and halved mozzarella balls. The sweetness of the tomatoes and the creamy mozzarella are a perfect complement to the pesto.
4. You can add a sprinkle of Parmesan cheese for an extra layer of salty flavor. Pack this in a leak-proof container. It’s best served chilled.
Phase 5: Beef Ham and Cheese Pinwheels with a Veggie Kick
These pinwheels are a fun and interactive way for kids to eat their lunch. They look appealing and are easy to hold and eat.
1. Toast the bread lightly. This makes it easier to roll without tearing. Then, trim off the crusts.
2. In a small bowl, mix the softened cream cheese with finely chopped chives, salt, and pepper. This adds a lovely herby flavor and creaminess.
3. Spread a thin, even layer of the chive cream cheese mixture over each slice of toasted bread, going all the way to the edges. This acts as the “glue” for our fillings.
4. Layer the beef ham or turkey breast, shredded Swiss or cheddar cheese, and grated carrot evenly over the cream cheese. Don’t overstuff, or it will be difficult to roll.
5. Starting from one edge, tightly roll up each slice of bread. Use a sharp knife to slice each roll into 1-inch thick pinwheels. You can secure them with a toothpick if they are difficult to keep together, but usually, the cream cheese is enough.
These lunchbox ideas are designed to be adaptable. Feel free to swap out ingredients based on your child’s preferences and what you have on hand. The goal is to create lunches that are both healthy and exciting, making that midday meal a highlight of their school day. Happy packing!
Conclusion:
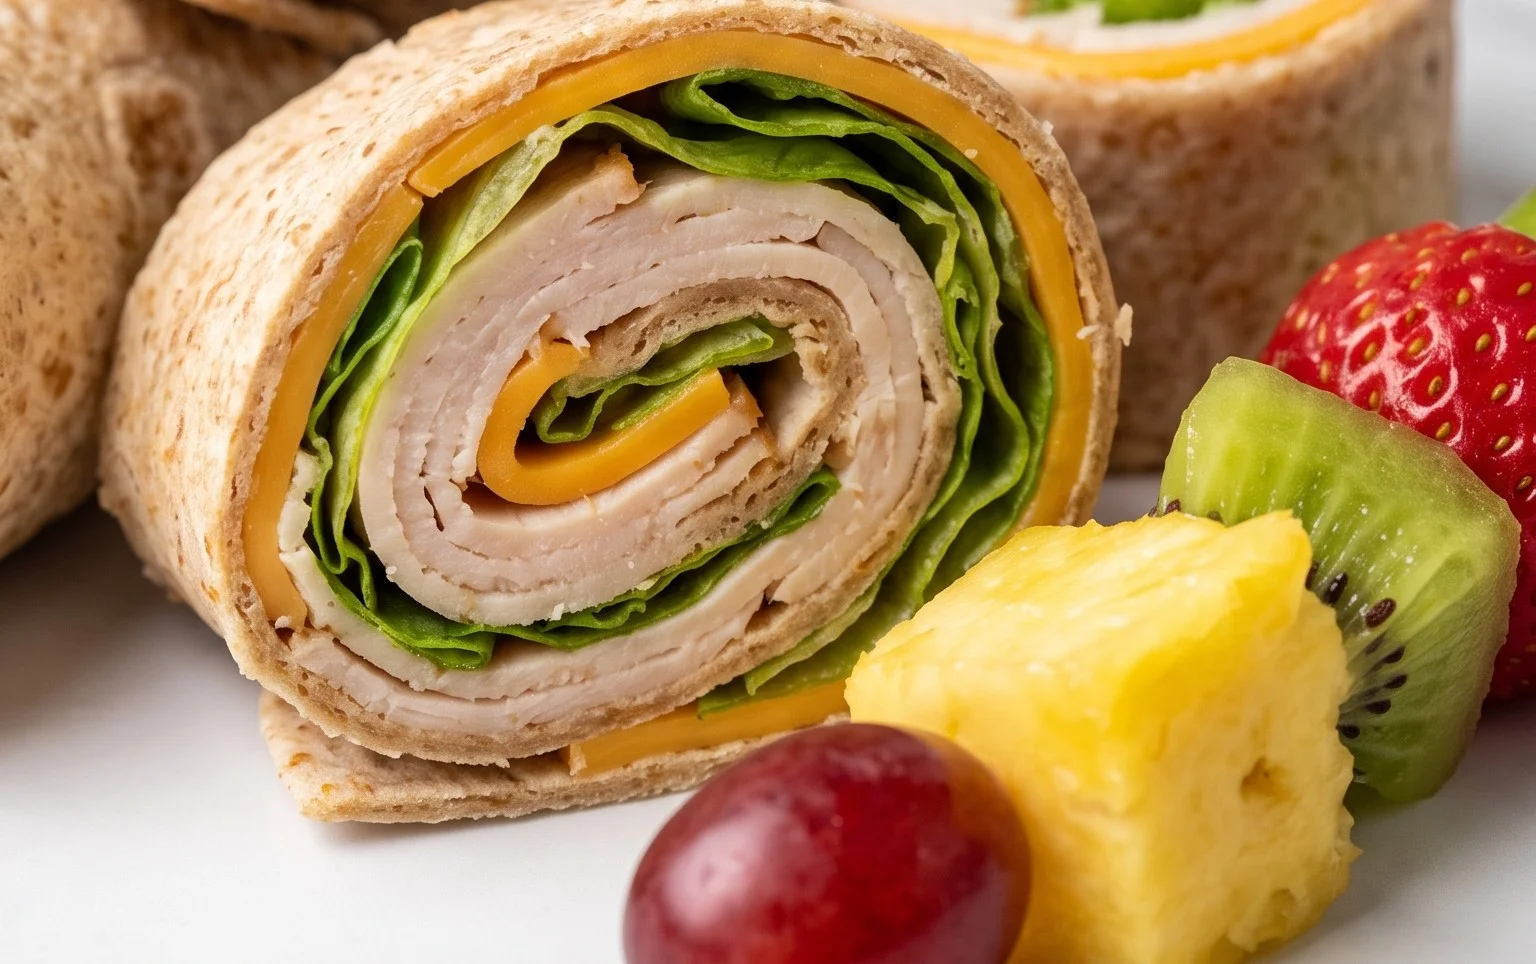
We hope you’ve found this collection of ‘Back to School: School Lunches Your Kids Will Actually Eat’ inspiring and, most importantly, practical! These recipes are designed to be delicious, nutritious, and most importantly, kid-approved, taking the stress out of packing lunches. From vibrant bento boxes to comforting wraps, each idea prioritizes flavor and texture that picky eaters can get behind, while also providing essential energy for a full day of learning. Don’t be afraid to get creative with your serving suggestions – think colorful fruit skewers, a side of crunchy veggie sticks with hummus, or even a mini muffin for a sweet treat. Remember, these recipes are incredibly versatile! Feel free to swap out proteins, experiment with different vegetables based on what’s in season, or add a sprinkle of their favorite cheese. The key is to involve your children in the process, making lunch packing a fun and collaborative activity. We strongly encourage you to try these out and discover your own family’s new favorite school lunch staples. Happy packing!
Frequently Asked Questions:
Q: How can I make these lunches even quicker for busy mornings?
A: Batch prepping is your best friend! Dedicate some time on the weekend to chop vegetables, cook grains, or even assemble certain components. For example, you can pre-cook chicken breasts, shred them, and store them in the fridge to quickly add to wraps or salads during the week. Many of these recipes are also excellent for leftovers, so consider making a little extra dinner to pack for lunch the next day.
Q: My child has specific dietary restrictions. Can these recipes be adapted?
A: Absolutely! Most of these school lunch ideas are highly adaptable. For gluten-free needs, simply swap regular bread or pasta for their gluten-free alternatives. For dairy-free options, experiment with plant-based yogurts, cheeses, and milk. If you have nut allergies, be sure to avoid any recipes that call for nuts or nut butters and opt for seed butters instead. Always check ingredient labels to ensure they meet your child’s specific requirements.
Back to School: School Lunches Your Kids Will Actually Eat
Easy and kid-approved school lunch ideas to make packing lunches a breeze.
Ingredients
-
Whole wheat bread
-
Turkey breast slices
-
Cheddar cheese slices
-
Apple slices
-
Baby carrots
-
Peanut butter
Instructions
-
Step 1
Assemble turkey and cheese sandwiches on whole wheat bread. Cut into fun shapes if desired. -
Step 2
Pack apple slices and baby carrots in separate containers. -
Step 3
Include a small container of peanut butter for dipping carrots or spreading on the sandwich. -
Step 4
Add a small treat like a cookie or granola bar. -
Step 5
Ensure the lunchbox is sealed to keep everything fresh.
Important Information
Nutrition Facts (Per Serving)
It is important to consider this information as approximate and not to use it as definitive health advice.
Allergy Information
Please check ingredients for potential allergens and consult a health professional if in doubt.