Garlic Parmesan Chicken Skewers- Juicy Grilled
Garlic Parmesan Chicken Skewers are an absolute game-changer for any weeknight meal or backyard barbecue. There’s something incredibly satisfying about tender, juicy chicken coated in a rich, savory blend of garlic and salty Parmesan cheese, all kissed by the grill. It’s no wonder why these skewers are so incredibly popular! They hit all the right notes: flavorful, easy to eat, and wonderfully versatile. What truly sets these Garlic Parmesan Chicken Skewers apart is the perfect balance of zesty garlic and the nutty, umami-rich Parmesan, which creates an irresistible crust as it cooks. Imagine sinking your teeth into that perfectly seasoned bite – pure culinary bliss. We’re about to unlock the secrets to making these delectable Garlic Parmesan Chicken Skewers that your whole family will be begging for, again and again.
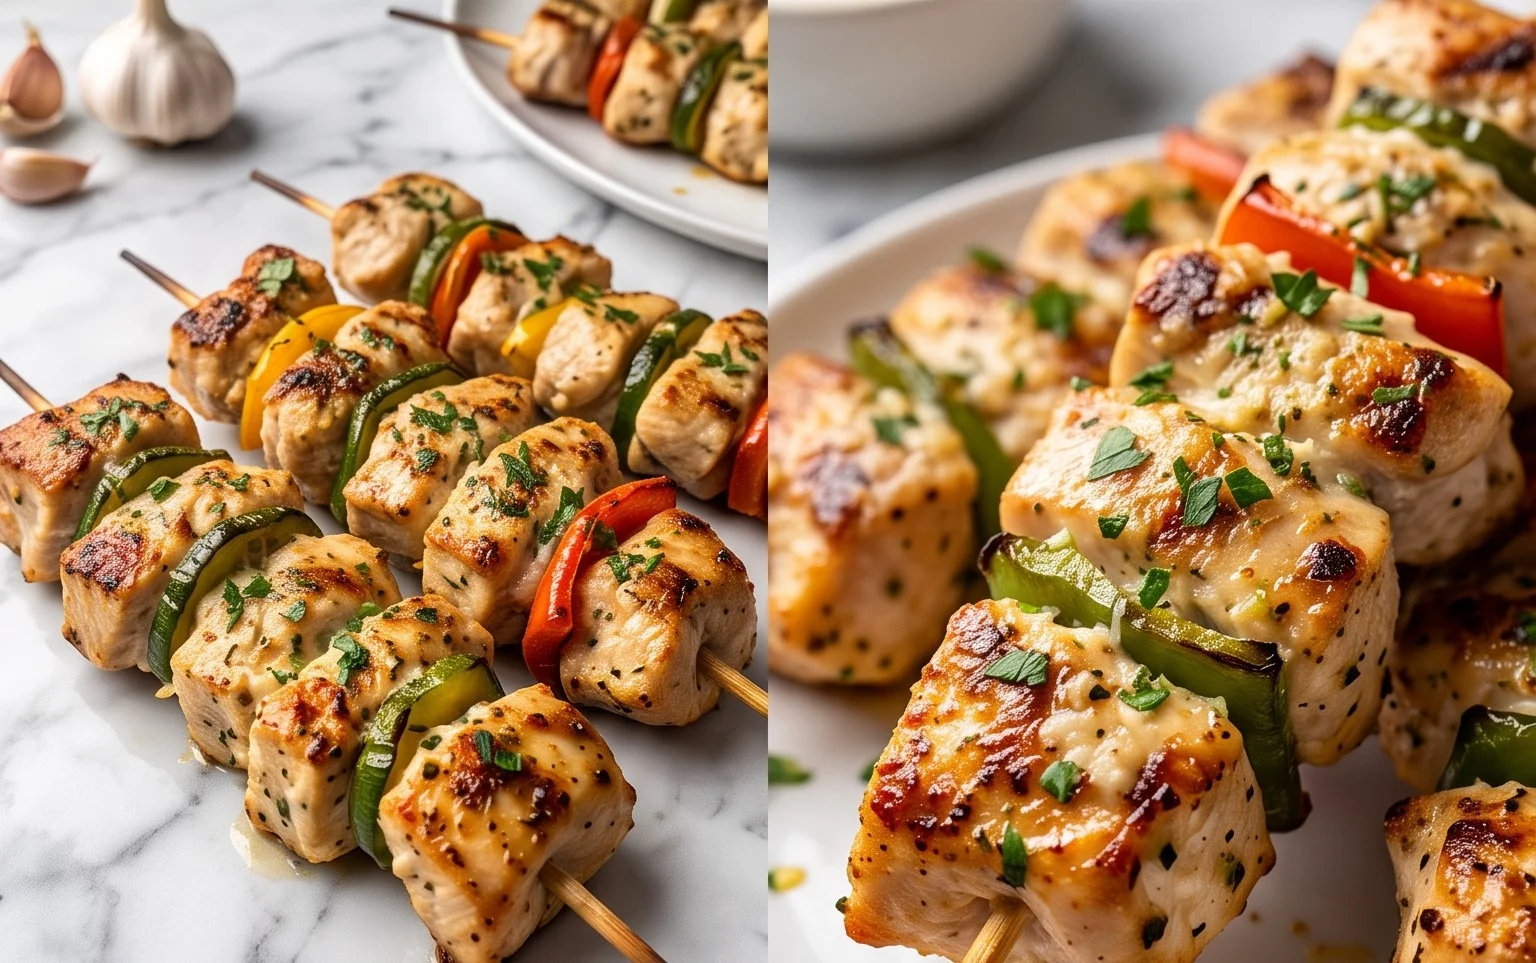
Garlic Parmesan Chicken Skewers
There’s something incredibly satisfying about perfectly grilled chicken skewers. They’re easy to make, customizable, and always a crowd-pleaser. Today, we’re elevating this simple concept with a flavor explosion of garlic and Parmesan, with just a hint of heat to keep things interesting. These Garlic Parmesan Chicken Skewers are juicy, tender, and coated in a rich, savory sauce that’s utterly irresistible. They’re perfect for a weeknight dinner, a backyard barbecue, or even a fun appetizer for your next gathering. Get ready to impress yourself and your guests with this incredibly flavorful dish.
Ingredients:
- 2 lbs chicken tenders, thighs or breast (cut into bite-sized pieces)
- 2 tbsp olive oil
- 1 stick butter
- 8-10 cloves garlic, minced
- 1/2 cup parmesan, grated
- 1 tbsp hot sauce (more if desired)
- 2 teaspoons red pepper flakes
- 1/3 cup fresh parsley, minced
- 2 teaspoons paprika
- 1 teaspoon garlic powder
- 1 teaspoon onion powder
- 1/2 teaspoon salt
- 1/2 teaspoon pepper
Let’s Get Cooking!
The beauty of these skewers lies in their simplicity. We’re going to marinate the chicken in a flavorful blend, then grill them to perfection. The sauce is where the magic truly happens, coating each bite in a glorious mix of butter, garlic, and salty Parmesan.
Step 1: Prepare Your Chicken and Marinade Base
First things first, let’s get our chicken ready. If you’re using chicken breast, you’ll want to trim off any excess fat and then cut it into uniform, bite-sized pieces. Chicken tenders are already perfect for skewering, so you can just give them a quick trim if needed. If you opt for thighs, remove the bone and skin and cut them into similar-sized chunks. Uniformity is key here, as it ensures all the chicken pieces cook at the same rate. Once your chicken is prepped, place it in a large bowl. In a separate smaller bowl, whisk together the olive oil, paprika, garlic powder, onion powder, salt, and pepper. This dry spice blend will form the base of our flavorful marinade, infusing the chicken with those aromatic spices before it even hits the heat. Pour this mixture over the chicken and toss well to ensure every piece is evenly coated. Let this sit for at least 15 minutes at room temperature while you prepare the other components, or for even deeper flavor, cover and refrigerate for up to 2 hours.
Step 2: Crafting the Luscious Garlic Parmesan Sauce
Now for the star of the show – the sauce! In a medium saucepan over medium-low heat, melt the stick of butter. Once the butter is completely melted and begins to gently bubble, add your minced garlic. We want to gently sauté the garlic, not burn it. Stir it frequently for about 1-2 minutes until it’s fragrant and just starting to turn a light golden color. This process unlocks the delicious aroma and flavor of the garlic. Be careful not to brown it too much, as burnt garlic can impart a bitter taste. Once the garlic is fragrant, stir in the grated Parmesan cheese. Continue to stir until the Parmesan is mostly melted and incorporated into the butter, creating a creamy, luscious base. This is where the magic really starts to happen!
Step 3: Adding the Zing and Heat
To the buttery, garlicky Parmesan mixture, it’s time to add our flavor boosters. Stir in the hot sauce. I like to start with a tablespoon, but feel free to add more if you enjoy a spicier kick. The hot sauce adds a wonderful tang and a subtle heat that balances out the richness of the butter and cheese. Next, add the red pepper flakes. These will provide little bursts of heat and a nice visual appeal. Stir everything together until well combined. The sauce should be thick and fragrant at this point.
Step 4: Skewering and Initial Grilling
If you’re using wooden skewers, it’s essential to soak them in water for at least 30 minutes before skewering your chicken. This prevents them from burning on the grill. Once soaked, thread your marinated chicken pieces onto the skewers, leaving a small space between each piece to allow for even cooking. Preheat your grill to medium-high heat. Lightly oil the grill grates to prevent sticking. Place the chicken skewers on the preheated grill. Grill for about 4-5 minutes per side, or until the chicken is cooked through and has developed nice grill marks. The internal temperature of the chicken should reach 165°F (74°C). Avoid overcrowding the grill, as this can lead to uneven cooking.
Step 5: The Grand Finale – Coating and Garnishing
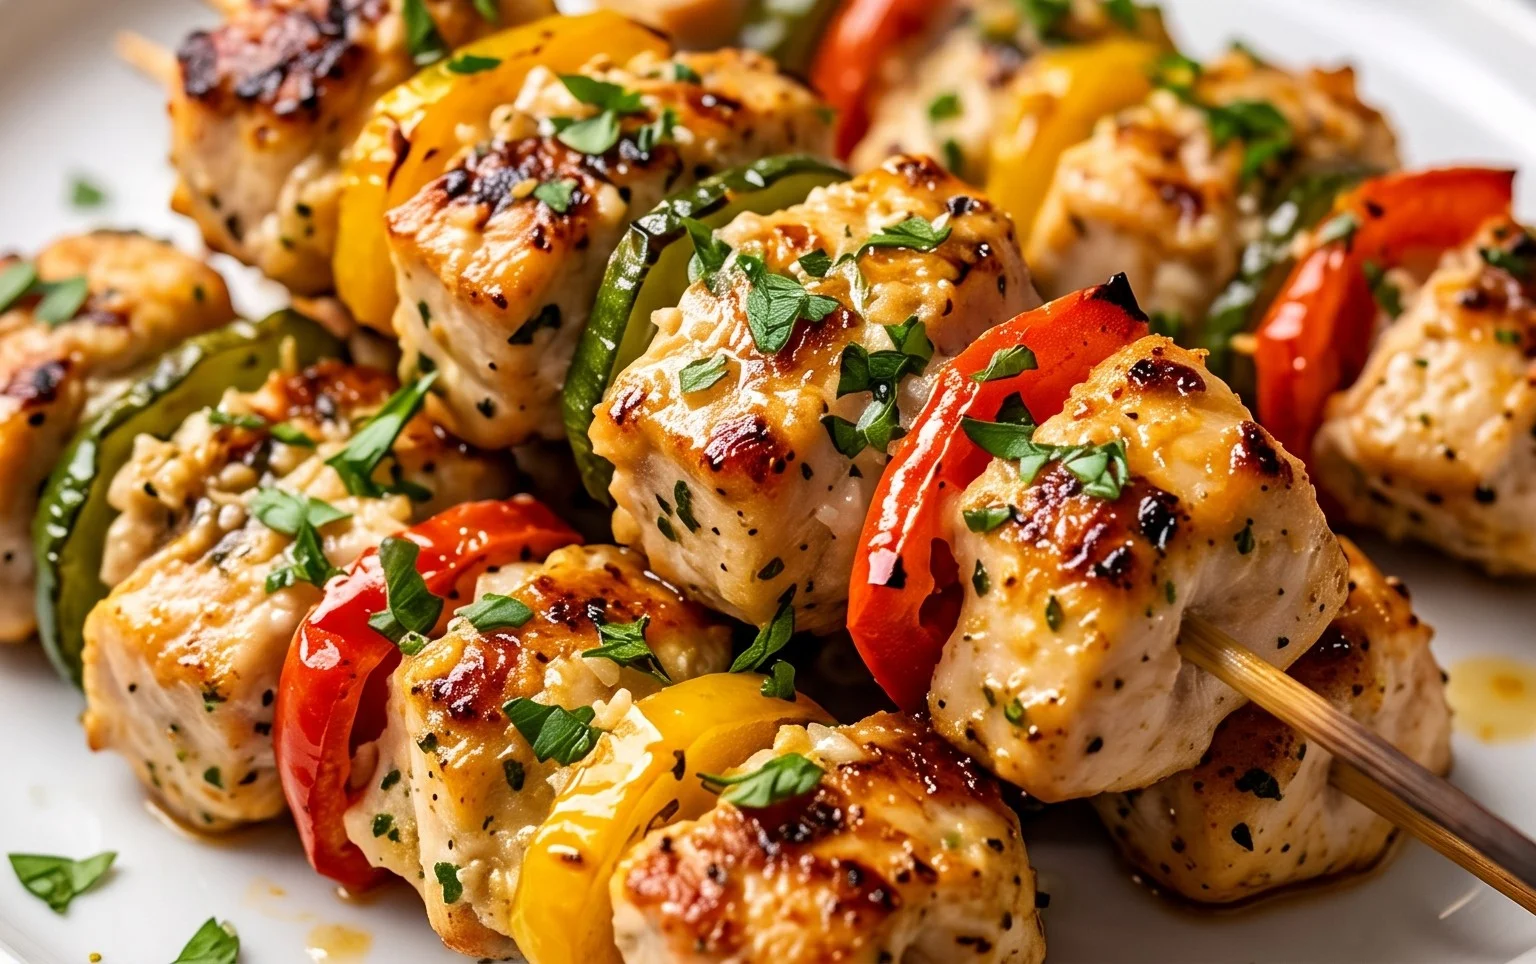
Once your chicken skewers are cooked and have those beautiful grill marks, it’s time to coat them in our glorious garlic Parmesan sauce. Remove the skewers from the grill and place them on a clean platter or baking sheet. While the skewers are still hot, spoon the warm garlic Parmesan sauce generously over each skewer, ensuring every piece of chicken is coated in that rich, cheesy goodness. Use a brush to evenly distribute the sauce, or simply drizzle it over the top. Finally, sprinkle the freshly minced parsley over the top of the sauced skewers. The vibrant green of the parsley adds a beautiful pop of color and a burst of fresh herbaceous flavor that perfectly complements the savory sauce. Let the skewers rest for just a minute or two to allow the sauce to set slightly before serving. These are best enjoyed immediately, while they’re warm and incredibly flavorful. Serve these Garlic Parmesan Chicken Skewers with your favorite sides, like grilled vegetables, rice pilaf, or a simple salad, and get ready for rave reviews!
Conclusion:
These Garlic Parmesan Chicken Skewers are an absolute winner for so many reasons! They’re incredibly flavorful, thanks to the irresistible combination of pungent garlic and salty Parmesan cheese. The chicken stays wonderfully juicy, especially when grilled or baked to perfection. Plus, they’re surprisingly easy to whip up, making them ideal for weeknight dinners, backyard BBQs, or even as a crowd-pleasing appetizer. I genuinely believe you’ll love how simple yet elegant these skewers are to prepare.
For serving, these Garlic Parmesan Chicken Skewers are incredibly versatile. They pair beautifully with a fresh Greek salad, grilled asparagus, or fluffy rice pilaf. You could also serve them as part of a larger appetizer spread with some crusty bread and a light dip. If you’re feeling adventurous, consider a few variations! Try adding a pinch of red pepper flakes for a little heat, or toss in some chopped fresh herbs like parsley or chives after cooking for an extra burst of freshness. Don’t hesitate to experiment and make them your own. I highly encourage you to give this recipe a try – I’m confident it will become a go-to in your kitchen!
Frequently Asked Questions:
Can I make these chicken skewers ahead of time?
Yes, you absolutely can! You can marinate the chicken for the Garlic Parmesan Chicken Skewers up to 24 hours in advance. This will actually deepen the flavors. Store them covered in the refrigerator. You can also thread them onto skewers a few hours before you plan to cook them, but I recommend waiting to add the Parmesan until closer to cooking time to prevent it from burning too much.
What is the best way to cook these skewers if I don’t have a grill?
No grill, no problem! These skewers cook up beautifully in the oven. Preheat your oven to 400°F (200°C) and place the skewers on a baking sheet lined with parchment paper. Bake for about 20-25 minutes, flipping them halfway through, until the chicken is cooked through and golden brown. You can also pan-sear them in a hot, lightly oiled skillet for a delicious char.
Garlic Parmesan Chicken Skewers
Tender chicken skewers coated in a savory garlic parmesan sauce with a hint of spice.
Ingredients
-
2 lbs chicken tenders, thighs or breast
-
2 tbsp olive oil
-
1 stick butter
-
8-10 cloves garlic, minced
-
1/2 cup parmesan, grated
-
1 tbsp hot sauce
-
2 teaspoons red pepper flakes
-
1/3 cup fresh parsley, minced
-
2 teaspoons paprika
-
1 teaspoon garlic powder
-
1 teaspoon onion powder
-
1/2 teaspoon salt
-
1/2 teaspoon pepper
Instructions
-
Step 1
Cut chicken into bite-sized pieces and thread onto skewers. -
Step 2
In a small bowl, whisk together olive oil, paprika, garlic powder, onion powder, salt, and pepper. -
Step 3
Brush the chicken skewers with the spice mixture. -
Step 4
Grill or bake chicken skewers until cooked through, about 8-10 minutes per side on the grill, or 20-25 minutes at 400°F (200°C) in the oven. -
Step 5
While chicken cooks, melt butter in a saucepan over medium heat. Add minced garlic and sauté until fragrant, about 1 minute. -
Step 6
Stir in parmesan cheese, hot sauce, and red pepper flakes. Cook until cheese is melted and sauce is combined. -
Step 7
Pour the garlic parmesan sauce over the cooked chicken skewers and toss to coat. -
Step 8
Garnish with fresh minced parsley before serving.
Important Information
Nutrition Facts (Per Serving)
It is important to consider this information as approximate and not to use it as definitive health advice.
Allergy Information
Please check ingredients for potential allergens and consult a health professional if in doubt.